In the ever-evolving world of digital communication, we often find ourselves facing unexpected challenges. One such challenge that many Mac users encounter is the seemingly simple task of importing .eml files into the Mac Mail application. Whether you’re migrating from another email client, recovering old emails, or trying to consolidate your digital correspondence, this guide will walk you through a solution that’s as effective as it is surprising.
Understanding the EML Conundrum
Before we dive into the solution, let’s take a moment to understand what .eml files are and why they can be troublesome. EML, short for “Electronic Mail Format,” is a file format used to store email messages. Each .eml file typically contains a single email message, complete with its headers, body content, and any attachments. These files are commonly created when exporting emails from various email clients or when saving individual messages for archival purposes.
The challenge arises because Mac Mail, despite its versatility, doesn’t have a straightforward, built-in method for importing these .eml files. This oversight has led to much frustration among users who find themselves with folders full of .eml files and no clear path to bring them into their primary email workflow.
The Conventional Wisdom: A Path to Nowhere
If you’ve spent any time searching for a solution online, you’ve likely come across what seems to be the conventional wisdom. This widely circulated advice suggests a method that, unfortunately, leads most users to a dead end. The typical recommendation goes something like this:
First, you’re told to take your folder of .eml files and simply rename it, appending “.mbox” to the folder name. Then, you’re instructed to open Mac Mail, navigate to the File menu, and select “Import Mailboxes.” At this point, you’re supposed to choose “Files in mbox format” from the options presented, locate your newly renamed folder, and voila – your emails should magically appear in Mac Mail.
If you’ve tried this method, you’ve likely discovered what many before you have: more often than not, it simply doesn’t work. The import fails silently, leaving you with no error message, no imported emails, and a growing sense of frustration. This method, while logical in theory, falls short in practice for reasons that aren’t immediately clear. It’s a testament to the sometimes counterintuitive nature of technology that the solution that actually works is one you might never guess on your own.
The Counterintuitive Solution: Thinking Outside the Box
Now, let’s explore the method that actually works – a solution that might seem counterintuitive at first glance but proves to be remarkably effective. This approach leverages a feature of Mac Mail in a way that its designers likely never intended, but which serves our purposes perfectly.
To begin, open your Mac Mail application. It’s worth noting that this method has been tested on versions of macOS newer than Monterey, so if you’re running an older version, it might be worth considering an update. Once Mail is open, navigate to the File menu at the top of your screen and select “Import Mailboxes.”
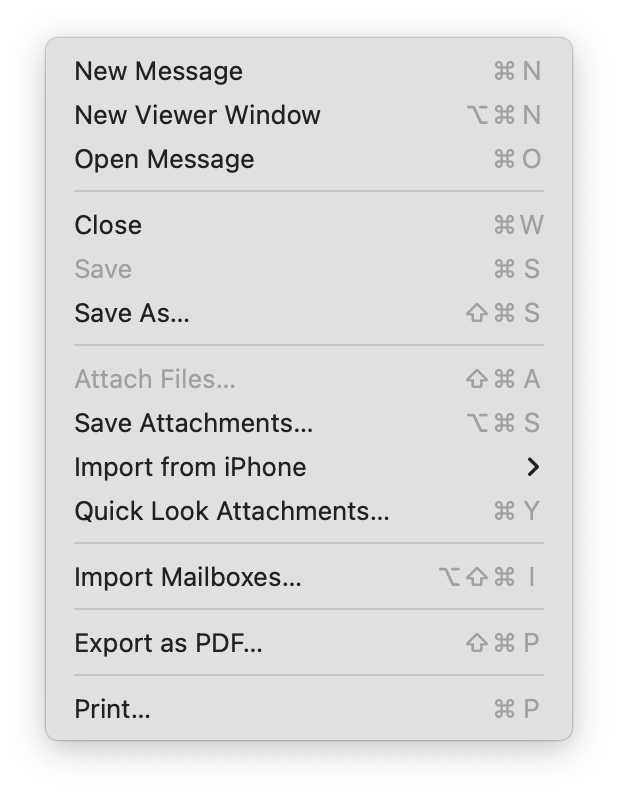
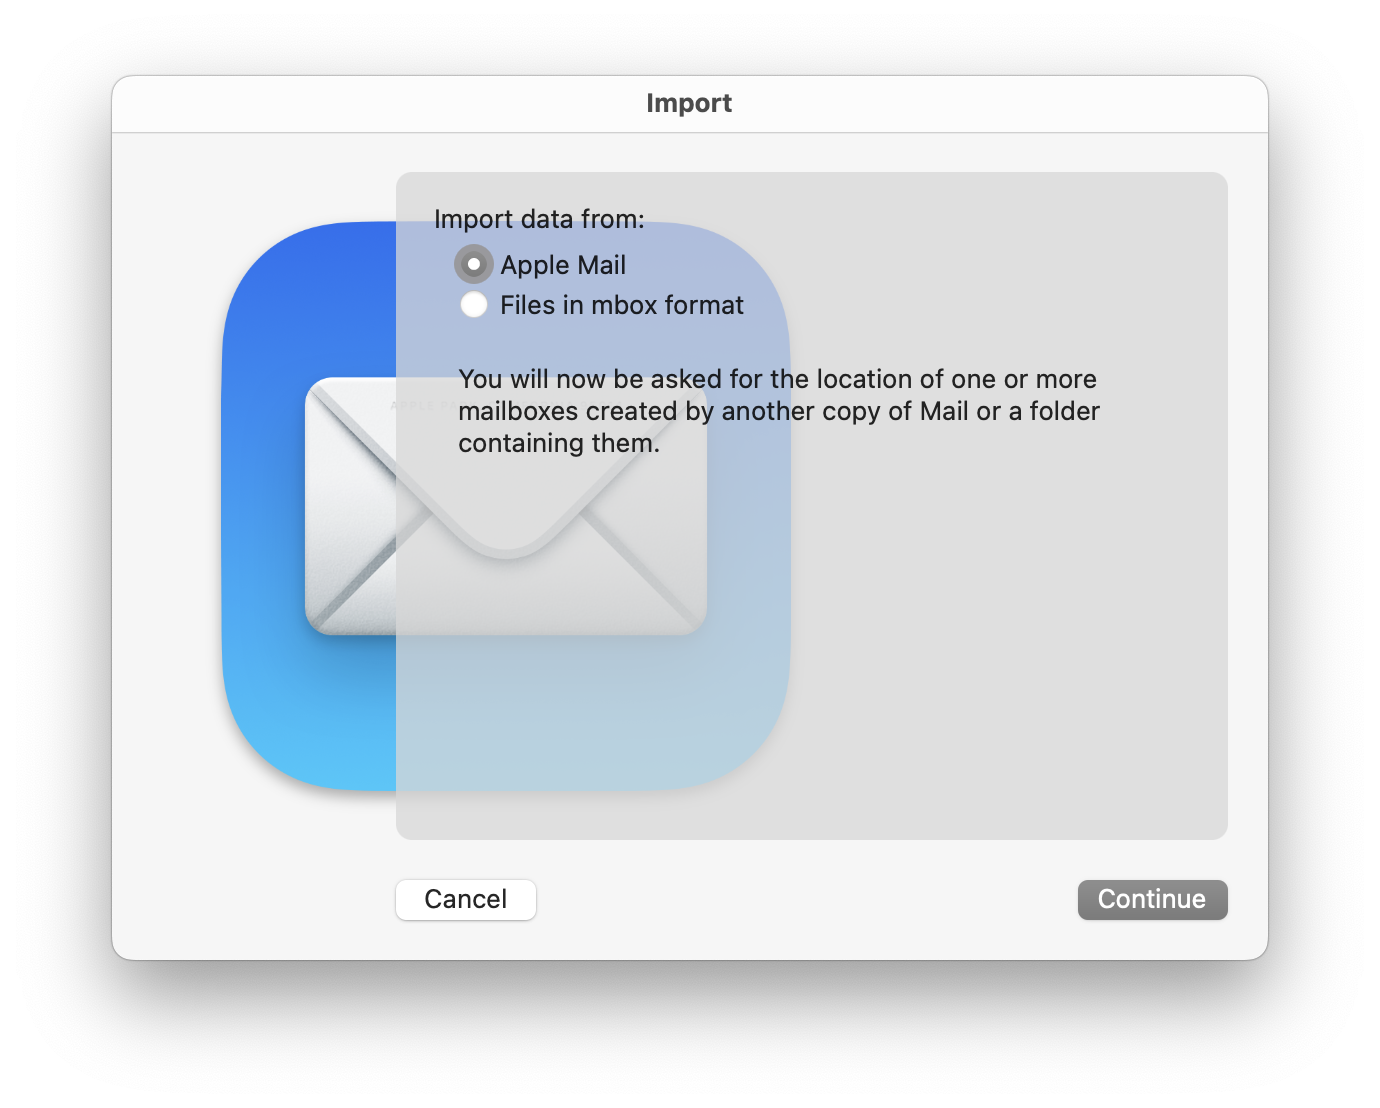
Here’s where things get interesting. In the dialog box that appears, you’ll see several options for the type of data you want to import. Now, conventional wisdom might suggest choosing “Files in mbox format” since we’re dealing with email files. However, this is where we diverge from the expected path.
Instead of selecting “Files in mbox format,” choose the option that says “Import data from Apple Mail.” Yes, you read that correctly – we’re telling Mac Mail to import data from itself, even though we’re actually trying to import external .eml files. This might seem like a paradox, but bear with me.
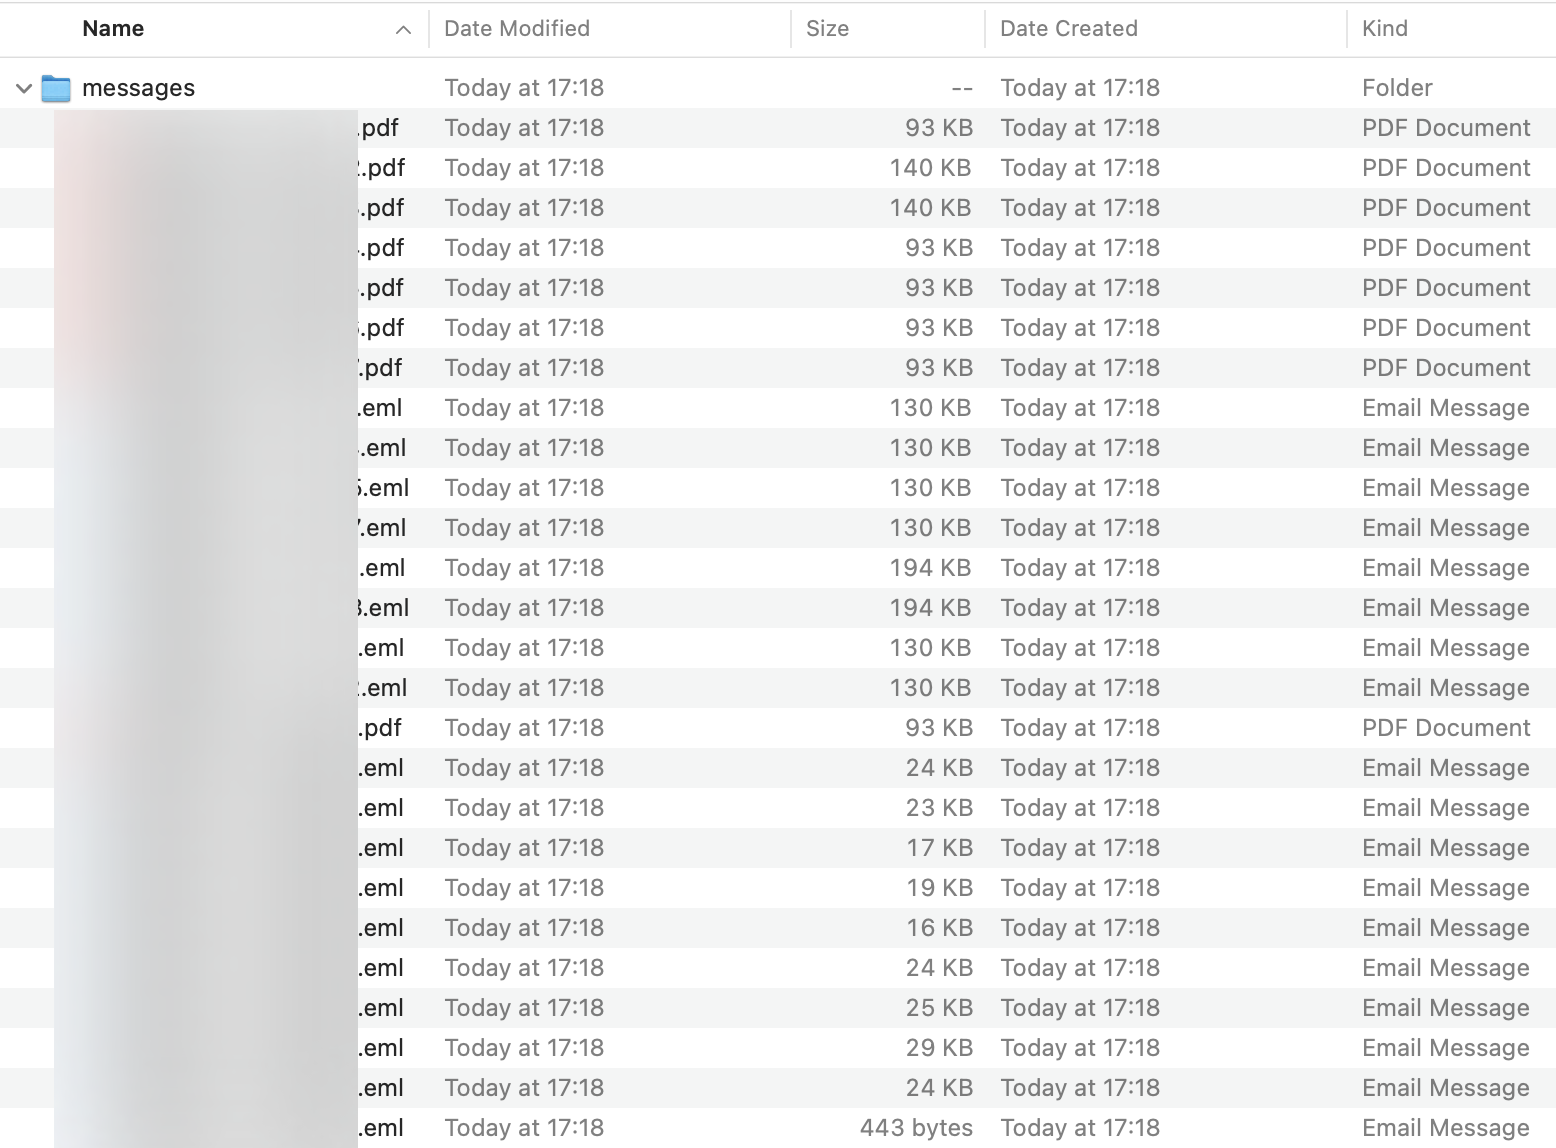
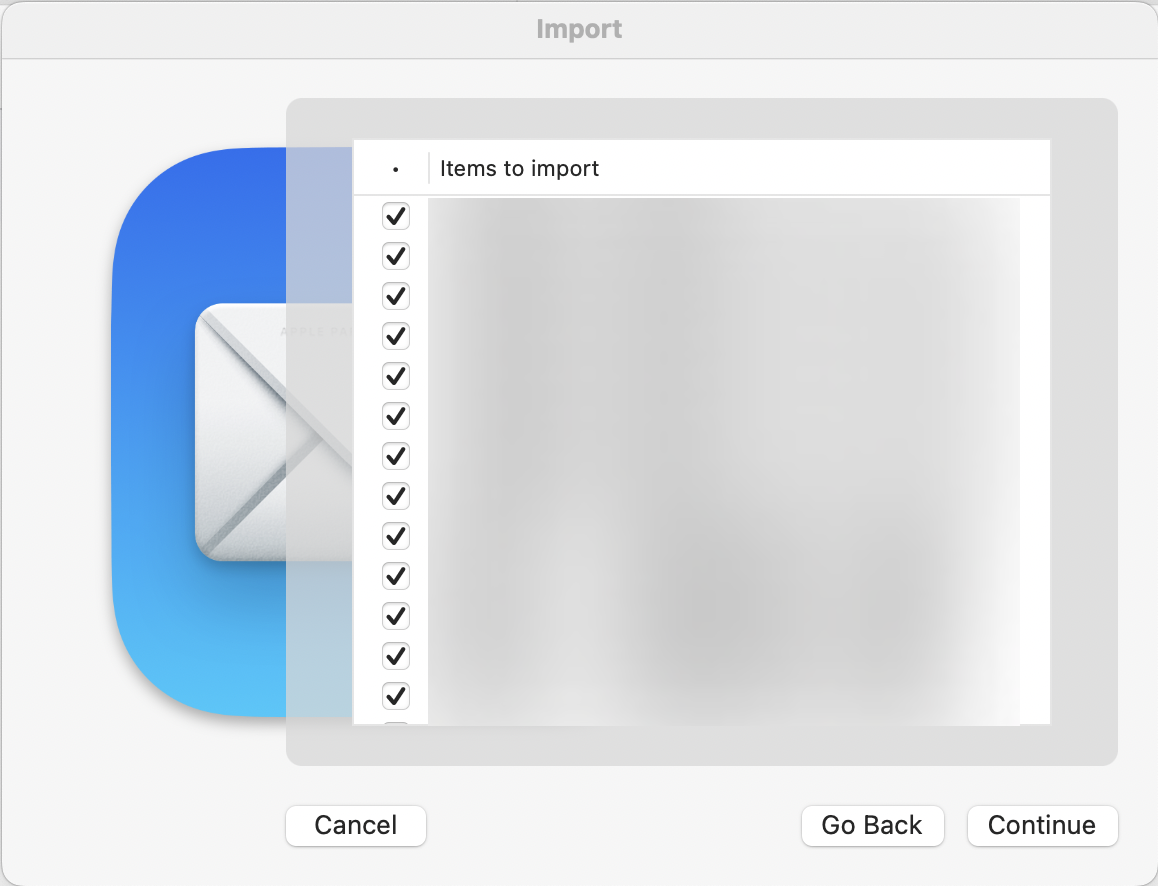
Next, you’ll be prompted to select a folder. Navigate to and select the folder containing your .eml files. Don’t worry about renaming anything – leave your folder and files exactly as they are. Once you’ve selected the folder, click “Choose” and let the import process begin.
At this point, you might be holding your breath, wondering if this unorthodox method will actually work. Rest assured, it does, and quite effectively at that.
The Aftermath: What to Expect
As the import process runs its course, you’ll start to see some changes in your Mac Mail sidebar. A new mailbox labeled “Import” will appear under the “On My Mac” section. This is where the magic happens.
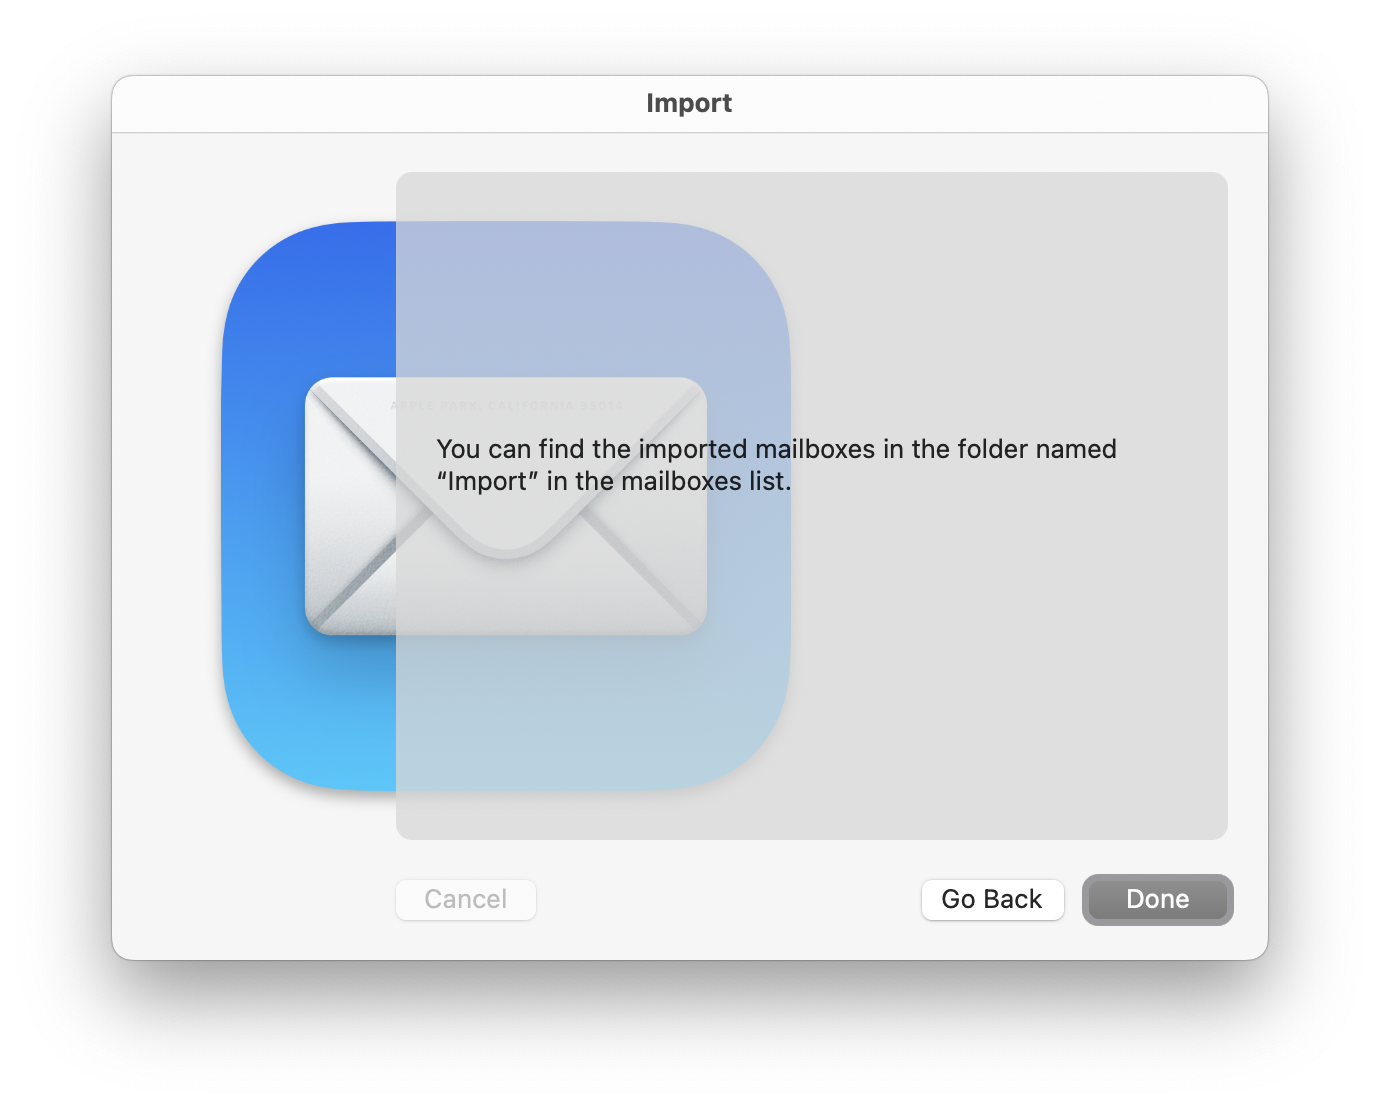
When you expand this “Import” mailbox, you’ll find that Mac Mail has created individual mailboxes for each .eml file in your original folder. Each of these mailboxes contains a single message – the content of the corresponding .eml file. This might seem a bit odd at first, having each email in its own mailbox, but it’s actually a clever way for Mac Mail to handle the import while maintaining the integrity of each message.
Upon inspection, you’ll find that each imported email is intact, complete with its original send date, sender information, and any attachments it might have had. The formatting of the email body, including any HTML content, is preserved as well. It’s as if you’ve turned back time and received these emails fresh in your inbox.
Organizing Your Newly Imported Emails
Now that your emails are safely within Mac Mail, you might be wondering how to best organize them. After all, having each email in its own mailbox isn’t exactly conducive to efficient email management.
Fortunately, moving these emails to your desired location is a straightforward process. You have a couple of options here. You can select all the individual mailboxes within the Import folder, then choose all the messages within these mailboxes, and drag them en masse to another folder or account within Mac Mail. Alternatively, you can use the “Move To” function, which you can access by right-clicking on selected messages or using the “Message” menu at the top of your screen.
If you’re using Mac Mail with multiple email accounts – perhaps a combination of Gmail, Outlook, iCloud, or others – you can easily distribute these imported emails to the appropriate accounts. Simply drag and drop the messages into the desired account folders. Mac Mail will handle the rest, ensuring that the emails appear in the correct account, both locally and on the email server (if your account is set up for IMAP).
The Benefits: Why This Method Shines
This unconventional import method comes with several significant advantages that make it stand out from other approaches:
Firstly, it preserves all metadata associated with each email. This includes crucial information like the original send date, sender and recipient details, and any flags or categories that might have been assigned to the email in its original client. This metadata preservation ensures that you’re not just importing the content of the emails, but their full context as well.
Secondly, attachments are handled with care. All files attached to the original emails are imported intact, maintaining their file names and formats. This is particularly crucial if you’re dealing with important documents or images that were sent as email attachments.
Thirdly, the HTML formatting of emails is maintained. If you’re importing newsletters, beautifully designed marketing emails, or any messages with rich text formatting, you’ll find that they look just as they did in their original form. This attention to detail ensures that no visual information is lost in the import process.
Another significant advantage is the speed of this method. In our tests with batches of around 20 emails, the import process was almost instantaneous. While larger batches of emails will naturally take longer to process, the method remains efficient even with substantial numbers of .eml files.
Lastly, this method succeeds where the conventional .mbox renaming trick fails. It’s a reliable way to import .eml files regardless of their source, whether they’re exports from another email client, saved messages from a web-based email service, or even emails recovered from a backup.
Practical Tips and Considerations
While this import method is remarkably effective, there are a few additional tips and considerations to keep in mind:
- Organize Before Importing: If you have a large number of .eml files, consider organizing them into subfolders before importing. This can make it easier to manage the imported emails within Mac Mail.
- Batch Processing: If you’re dealing with an extremely large number of .eml files, consider importing them in smaller batches. This can help manage system resources and make the process more manageable.
- Check for Duplicates: If you’re importing emails that might already exist in your Mac Mail, be aware that this method could potentially create duplicates. After importing, you might want to use Mac Mail’s built-in tools or third-party applications to identify and remove any duplicate messages.
- Backup Your Existing Mail Data: Before performing any significant import operation, it’s always wise to back up your existing Mac Mail data. This ensures that you can revert to your previous state if anything goes awry during the import process.
- Consider Future Accessibility: Once you’ve imported your .eml files, consider whether you need to keep the original files. In most cases, once the emails are in Mac Mail, you can safely archive or delete the .eml files to free up disk space.
- Stay Updated: This method has been tested on recent versions of macOS, but Apple frequently updates its software. Always ensure that your operating system and Mail app are up to date, and be prepared to adapt your approach if future updates change how Mail handles imports.
Conclusion: Embracing the Unconventional
In the world of technology, sometimes the most effective solutions are the ones that seem the least obvious at first glance. The method we’ve explored for importing .eml files into Mac Mail is a perfect example of this principle. By thinking outside the box and leveraging an existing feature in an unexpected way, we’ve unlocked a powerful tool for managing our email archives.
This solution not only solves a common problem faced by many Mac users but also demonstrates the importance of experimentation and creative thinking when dealing with technology. It’s a reminder that the features and tools at our disposal often have capabilities beyond their intended use, waiting to be discovered by those willing to explore.
As you apply this method to import your own .eml files, remember that the world of digital communication is constantly evolving. Stay curious, keep exploring, and don’t be afraid to try unconventional approaches to solve your tech challenges. Who knows? Your willingness to experiment might just lead you to the next unexpected solution.
Happy emailing, and may all your future imports be as smooth and successful as this one!
Leave a Reply