I’m trying to incorporate Microsoft Visio in my workflow as I underestimated its power. One problem for me is that I use a Macintosh which is not able to use the app natively, even through there’s a web based app, it is still far from acceptable in terms of user experience. Thus I decide that I should install a virtual machine to install certain apps on that VM to help me navigagte through both worlds(for linux it is much easier by using command line).
Before proceeding to the upcoming sections, I need to remind you that you need certain installation media or virtual machine files for Windows, installation file for Arm based Visio, as well as activation license for both Windows and Visio. I obtained all those files from Virginia Tech, you should ask your organization’s administrator for those info or maybe you need to purchase those products. I will mention about resources from Virginia Tech that I rely on, so if you are not a VT student, all you need to know is what kind of files I used during the setup process so that you know what you may need.
Which to choose
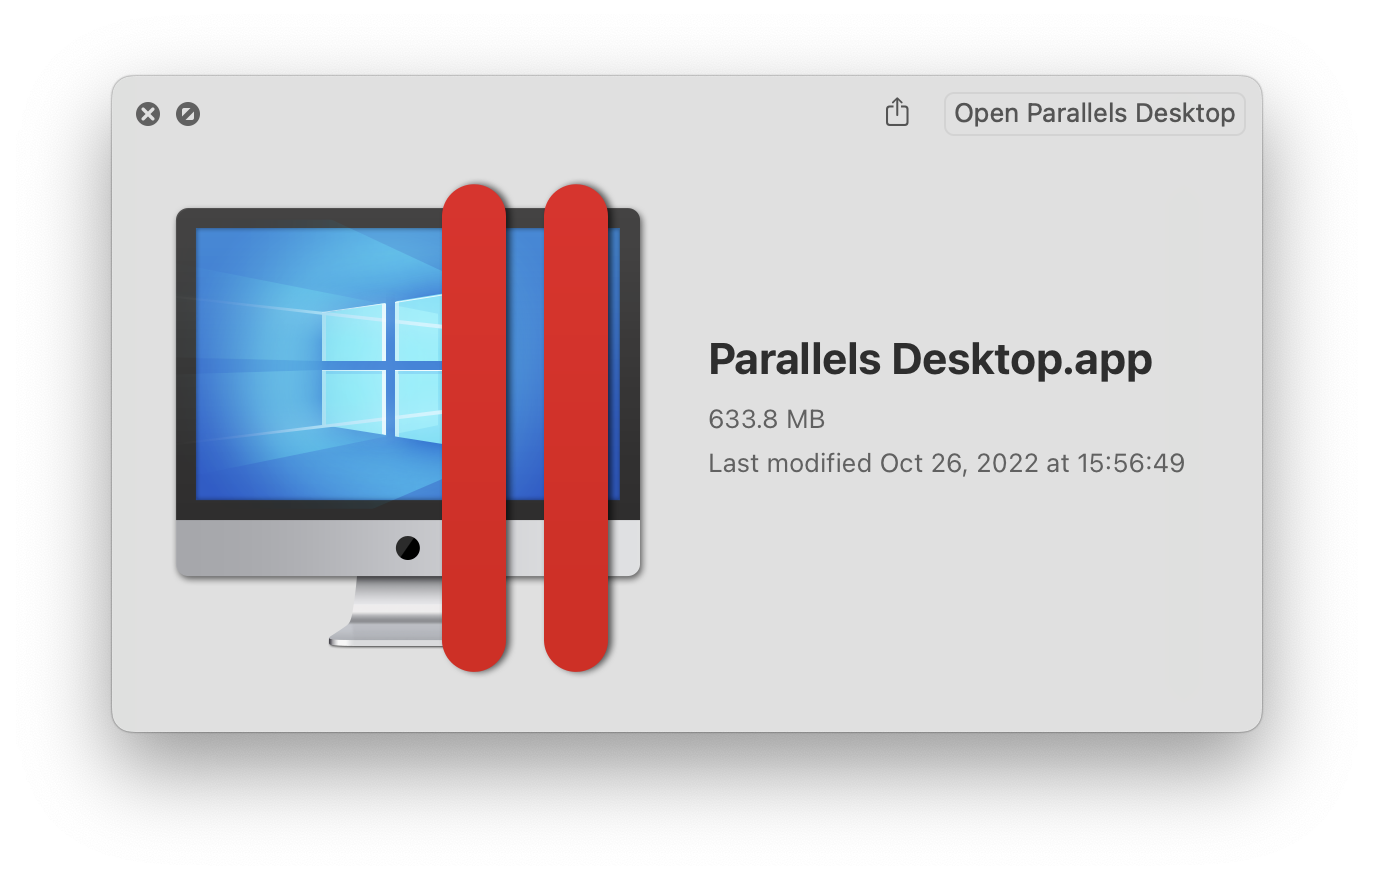
There are multiple different kinds of VM apps like VMWare, Virtual Box, UTM, Paralles Desktop, I decide to choose Parallels Desktop because it is best for installing Windows apps on Mac machines especially for M series chipset. Installing Parallel Desktop could be really easy by just double click the installer.
Installation
Before installing Windows VM, one needs to obtain a specific iso file because if you want to install that on ARM based Macintosh. An exhaustive lists of resources @VT contains the link to Virtual Windows 11 Education (22H2) ISO for use with Parallels on M1 Based Macs, I choose this version because it is the latest up to date installer file, it is named “windows_11_22H2_edu_64bitARM.iso” and around 5.45GB.
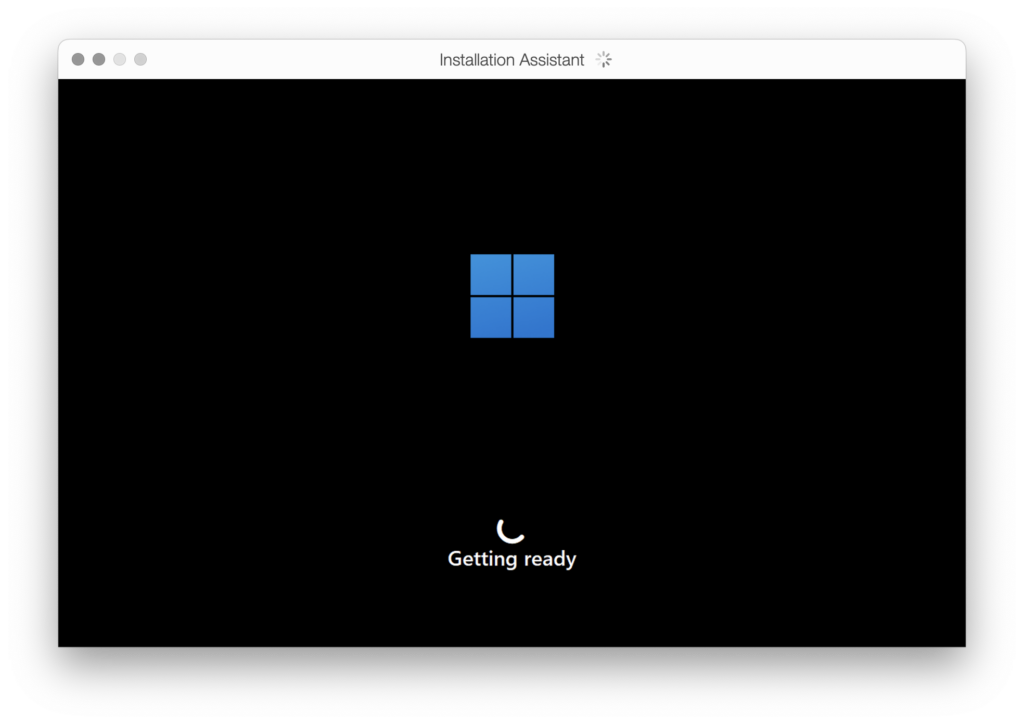
For installation, it is not too difficult, Parallel Deskop would guide you to install the VM, you only need to provide the location of the iso file.
One thing that you need to be cautious is that when asked which version to choose, you need to choose the enterprise version rather than Pro version. Otherwise, the installation will be failed. The following image shows the window for the installation process.
Activation
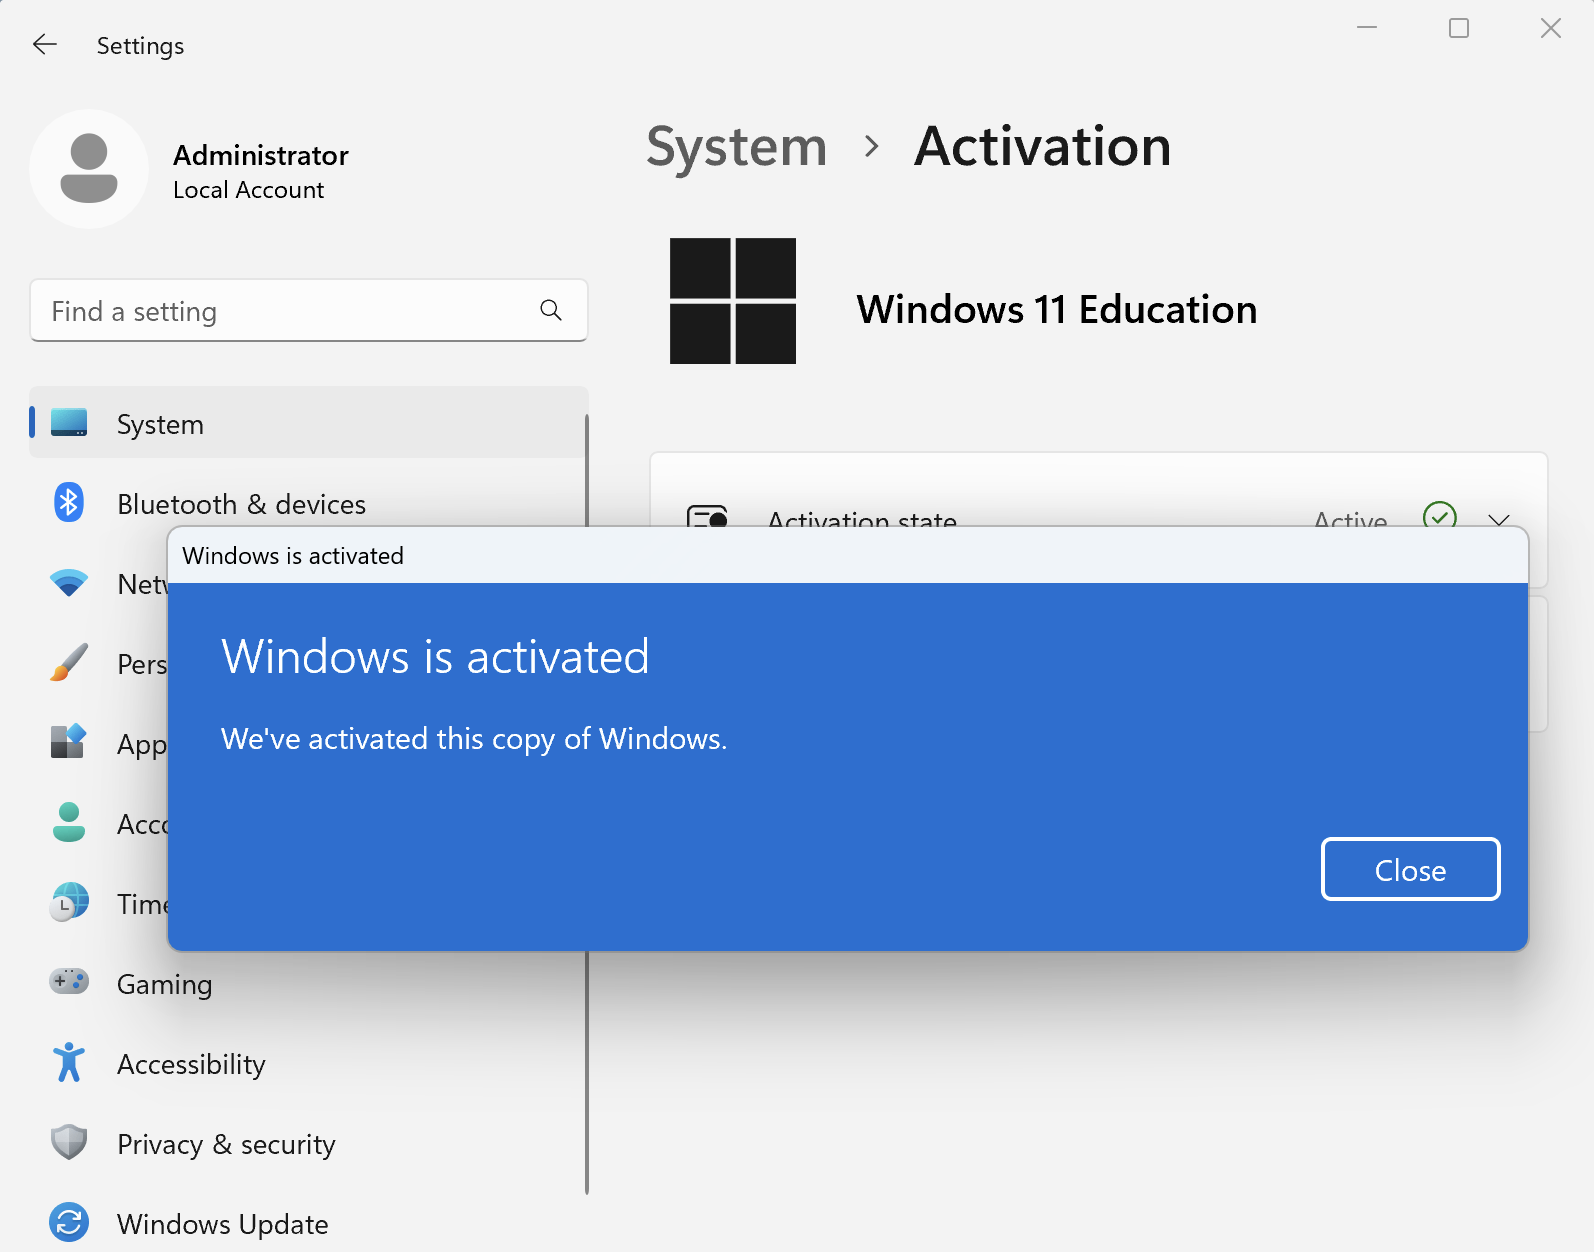
This guide contains the whole activation process, one could obtain a copy of the product key based on the guide. As we can see, when opeing Settings->System->Activation->Change Product Key, paste the key string and then Windows is activated.
Visio Installation
After the VM is up and running, it is much easier to install the Viso app, An exhaustive lists of resources @VT also provides the installer for Microsoft Visio, which is downloaded from Azure. One advantage of Parallels Desktop VM is that it could see my host machine’s file and I don’t have to copy and paste files back and forth, which is really convenient.
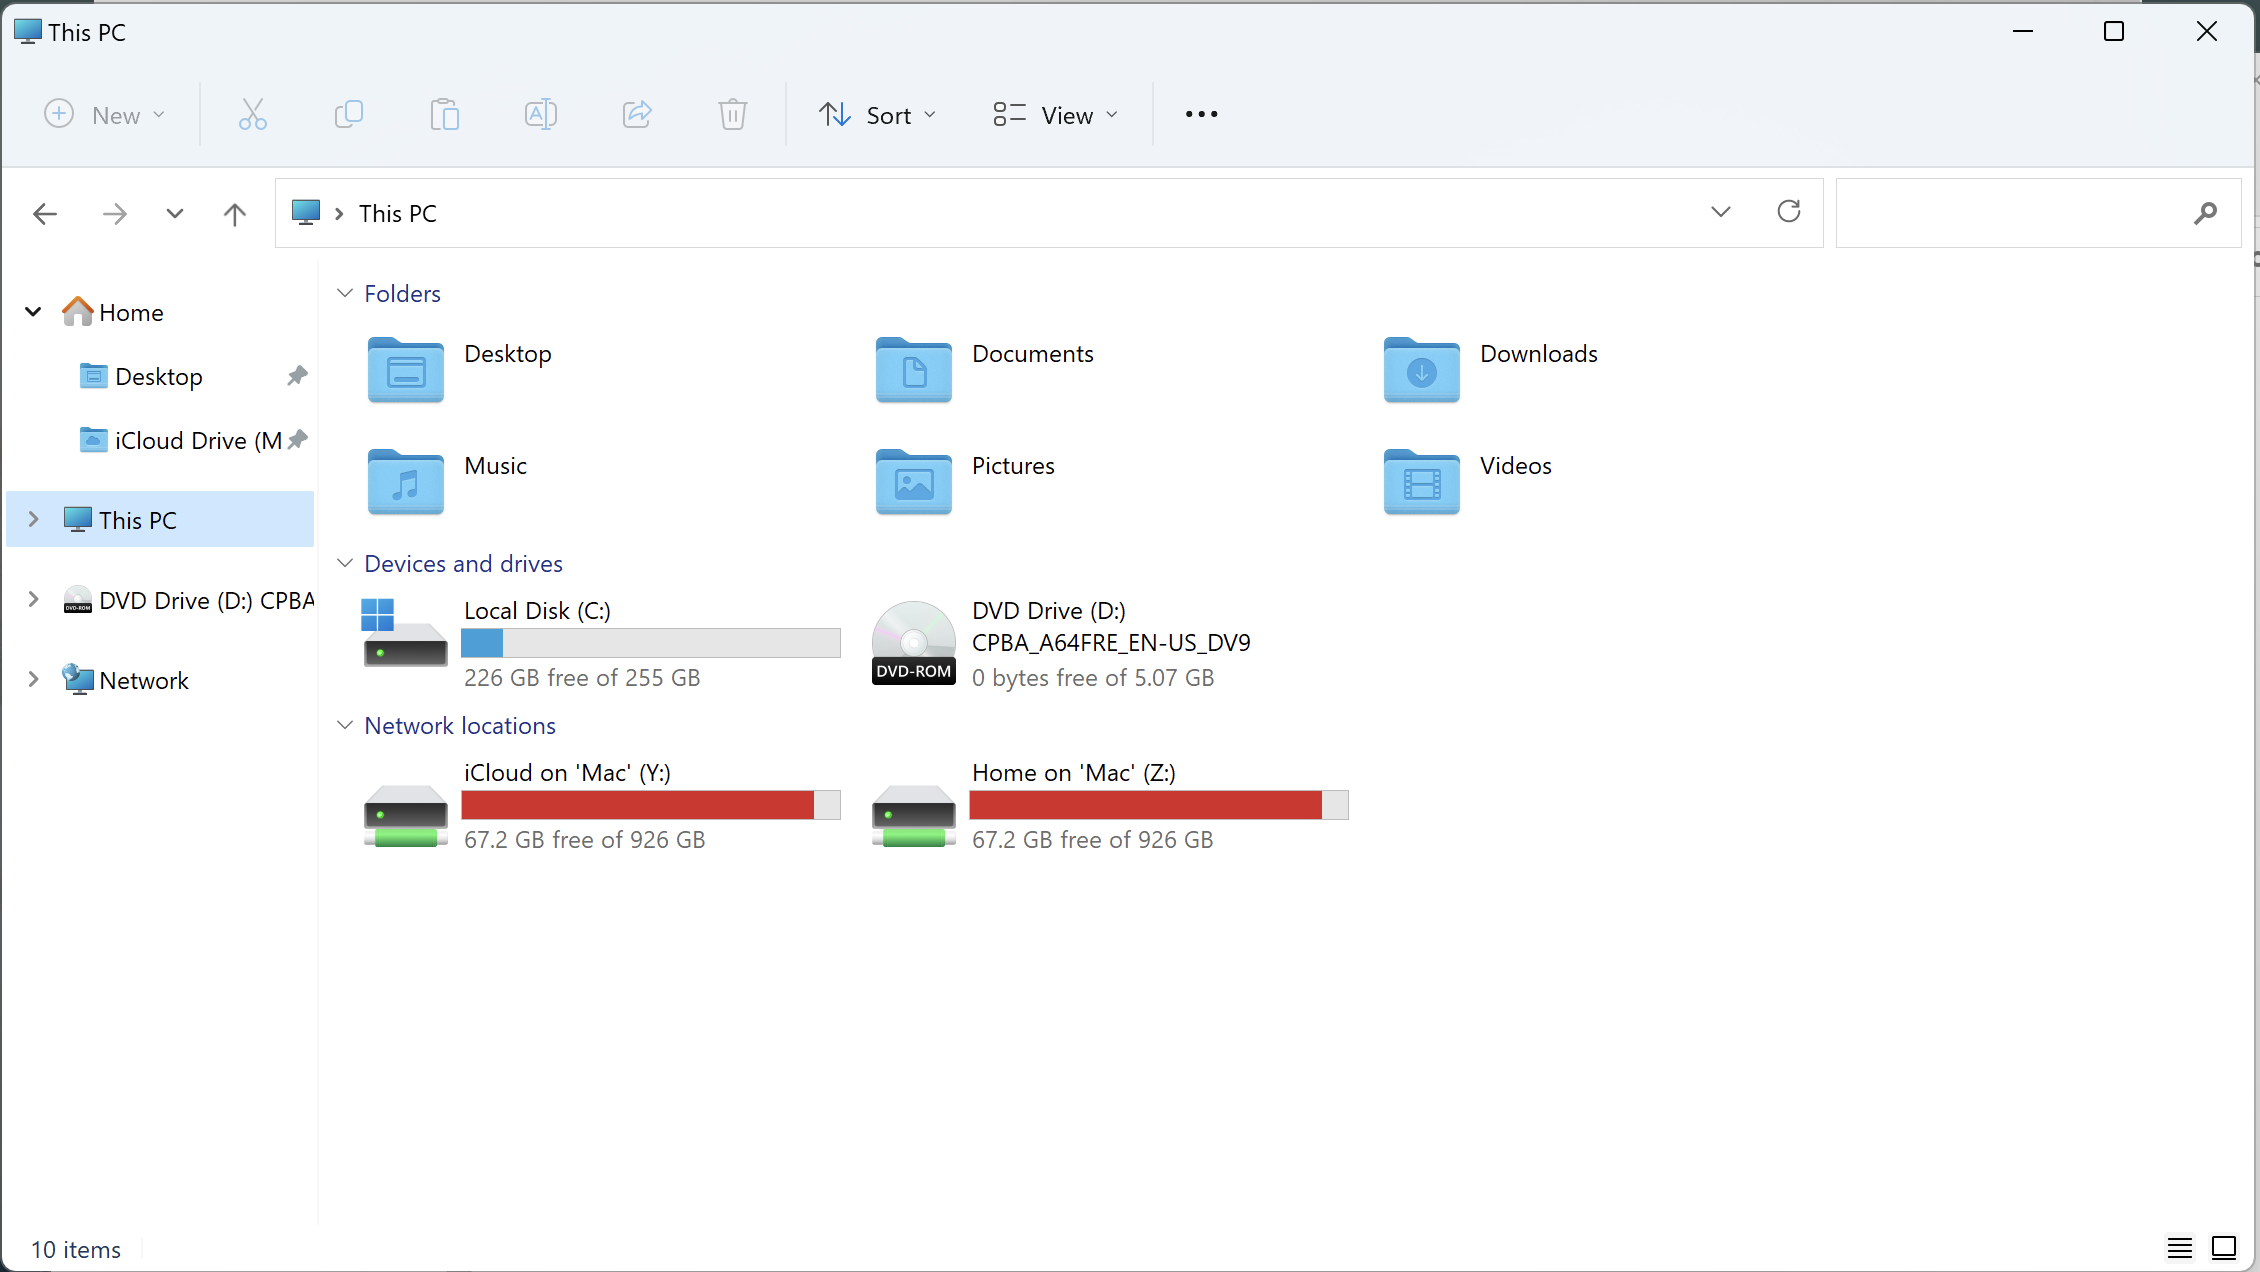
I downloaded the installer which is a iso file name “en_visio_professional_2021_x86_x64_dvd_71d46ae8”, I tried to mount the iso file but it refused to do so.
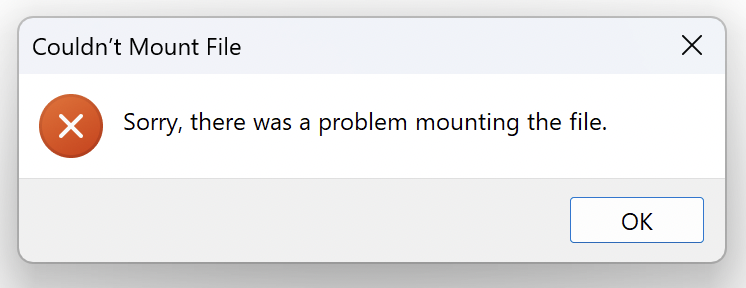
I was not sure why it is behaving this way, I was thinking perhaps it was because it is a x64 based app and cannot be running on arm architecture. Then I copied the files from the iso on my host machine meaning on my macOS and then run the installer from the copied files, it works.
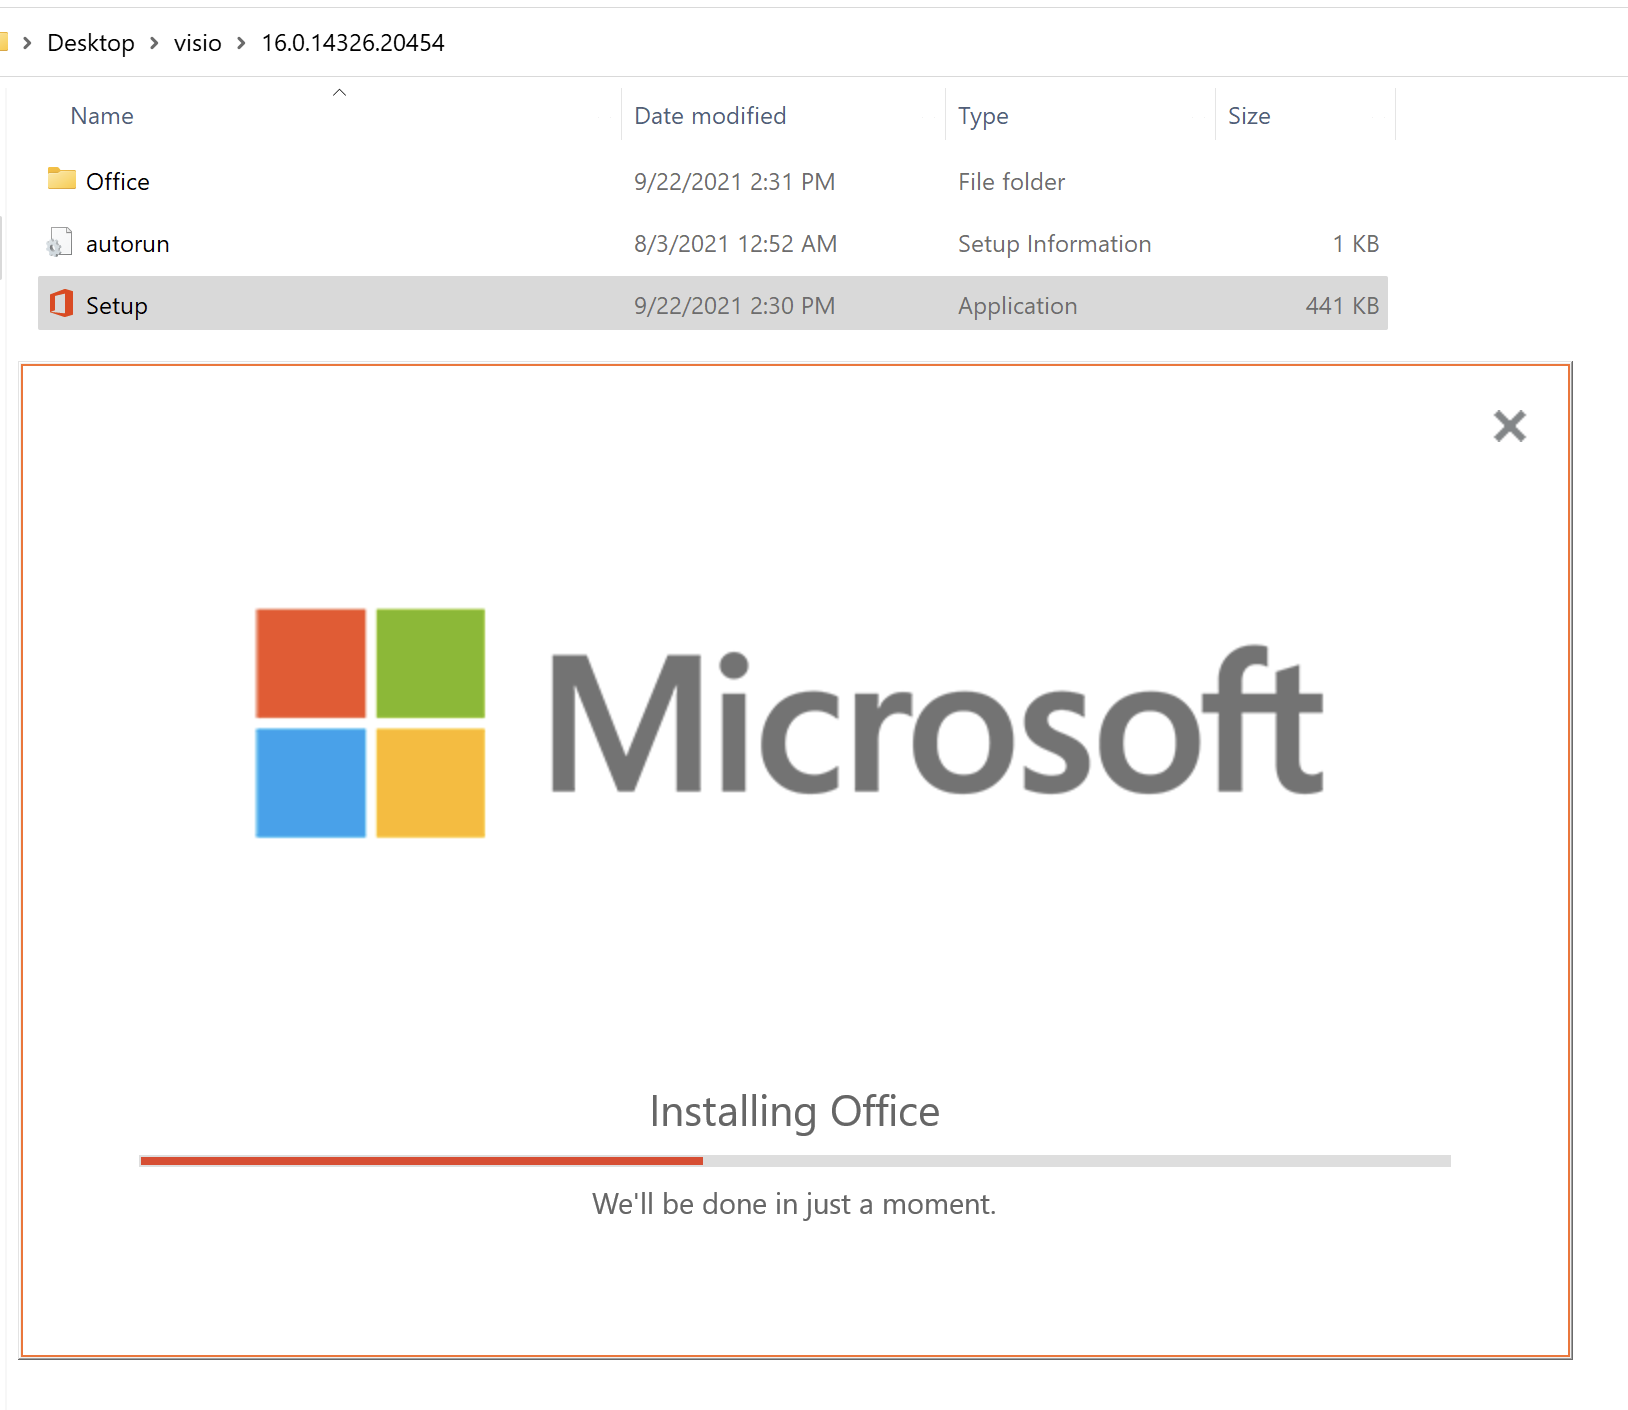
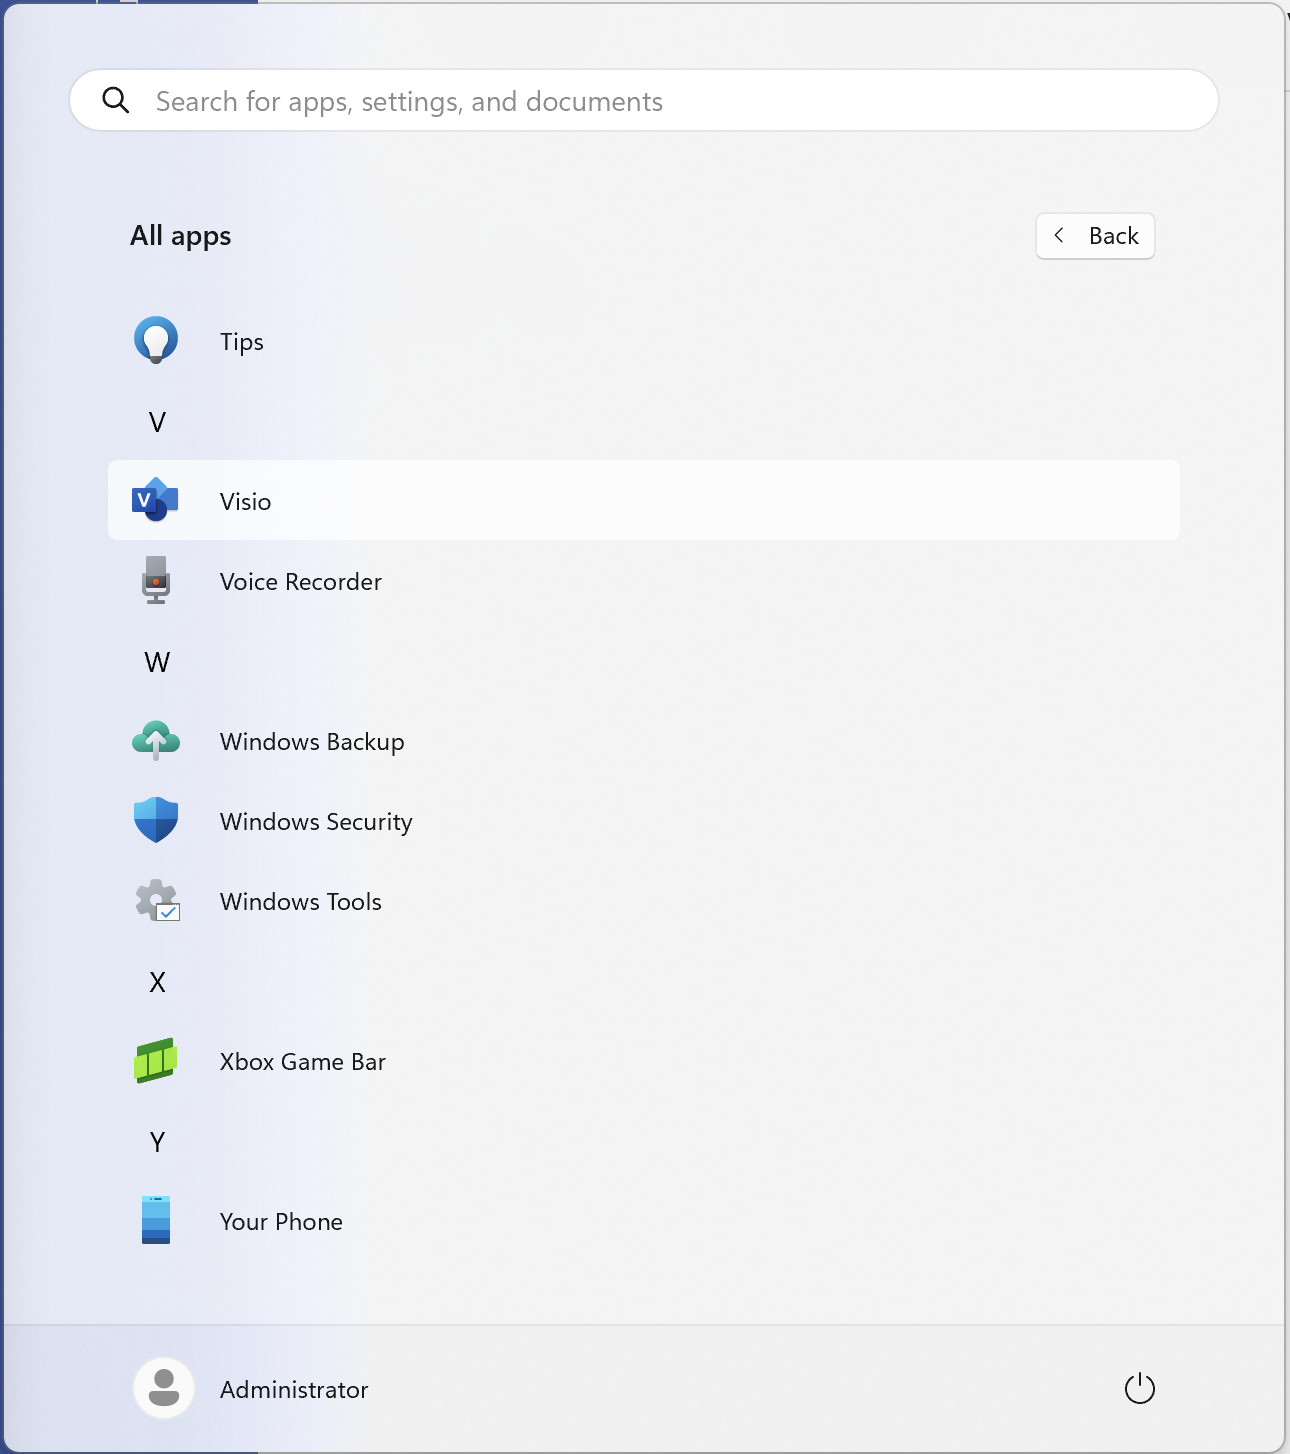
After running the installation process I checked that out at the start menu and then ran the app.
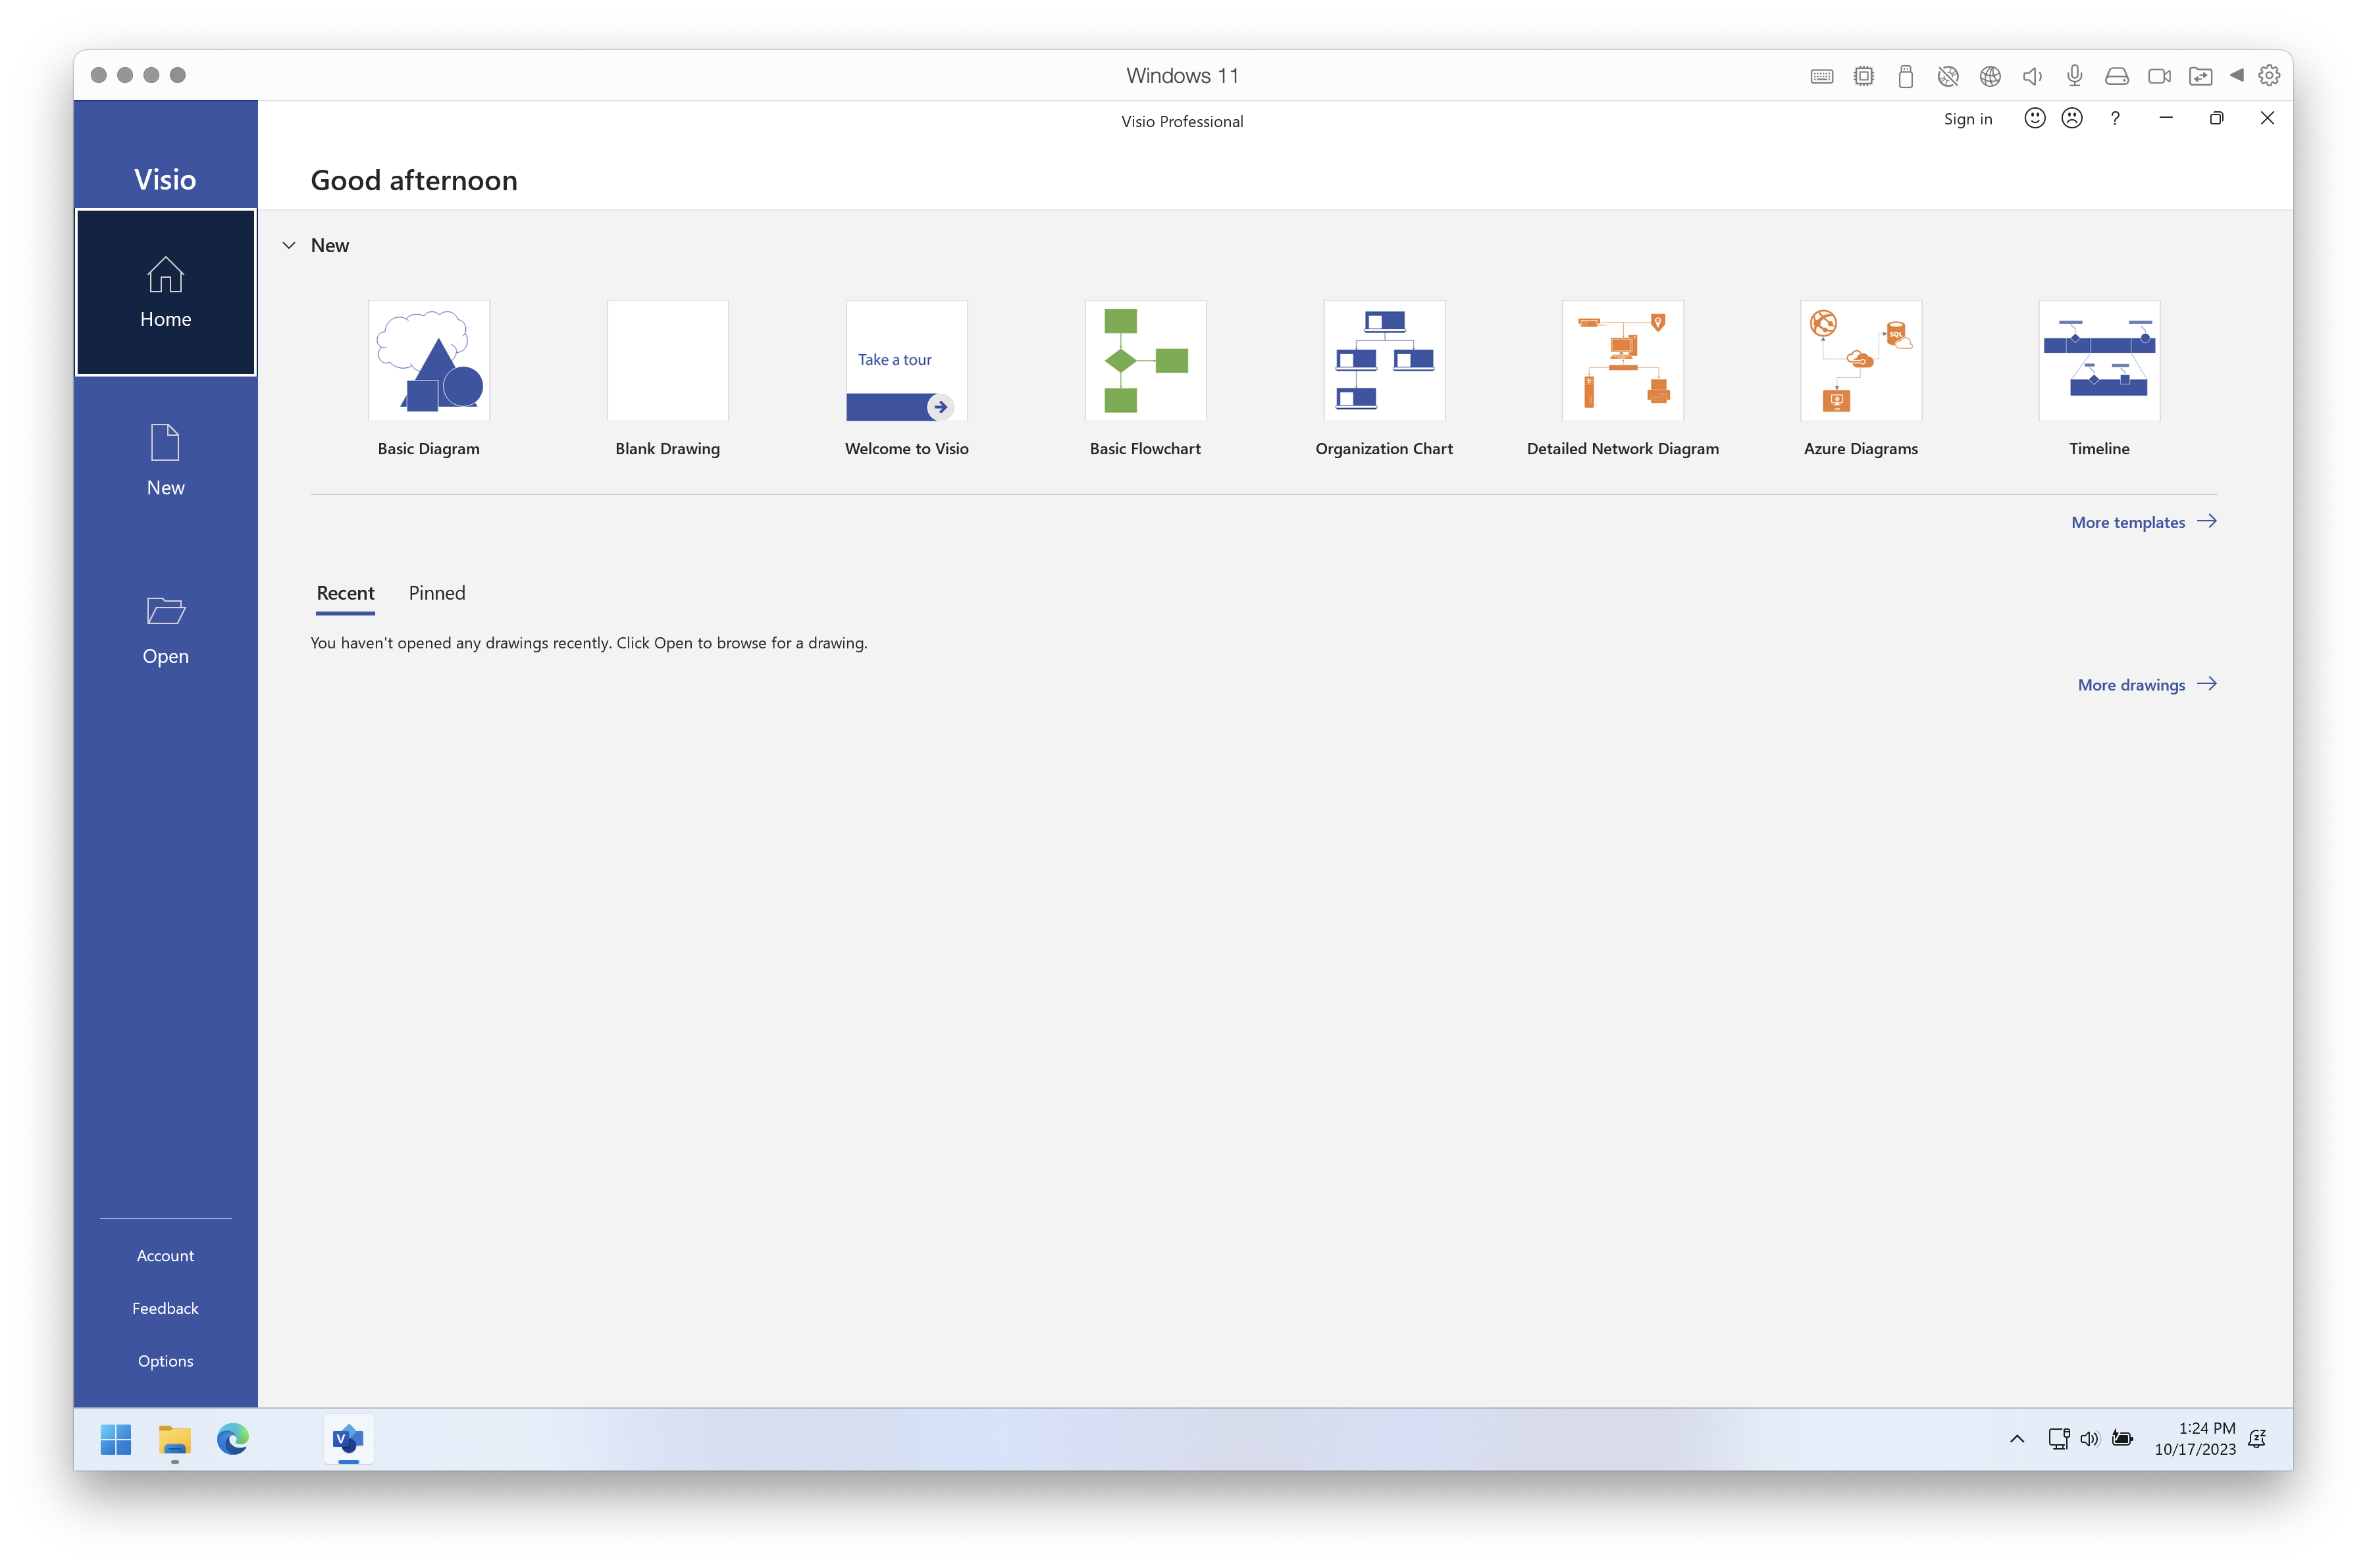
You need to provide your product key based on your orgnization, I got mine from Microsoft Azure Dev Tools for Teaching @VT. Now it is much easier for me to run Visio on my machine even through it is based on virtual machine, it is really convenient.
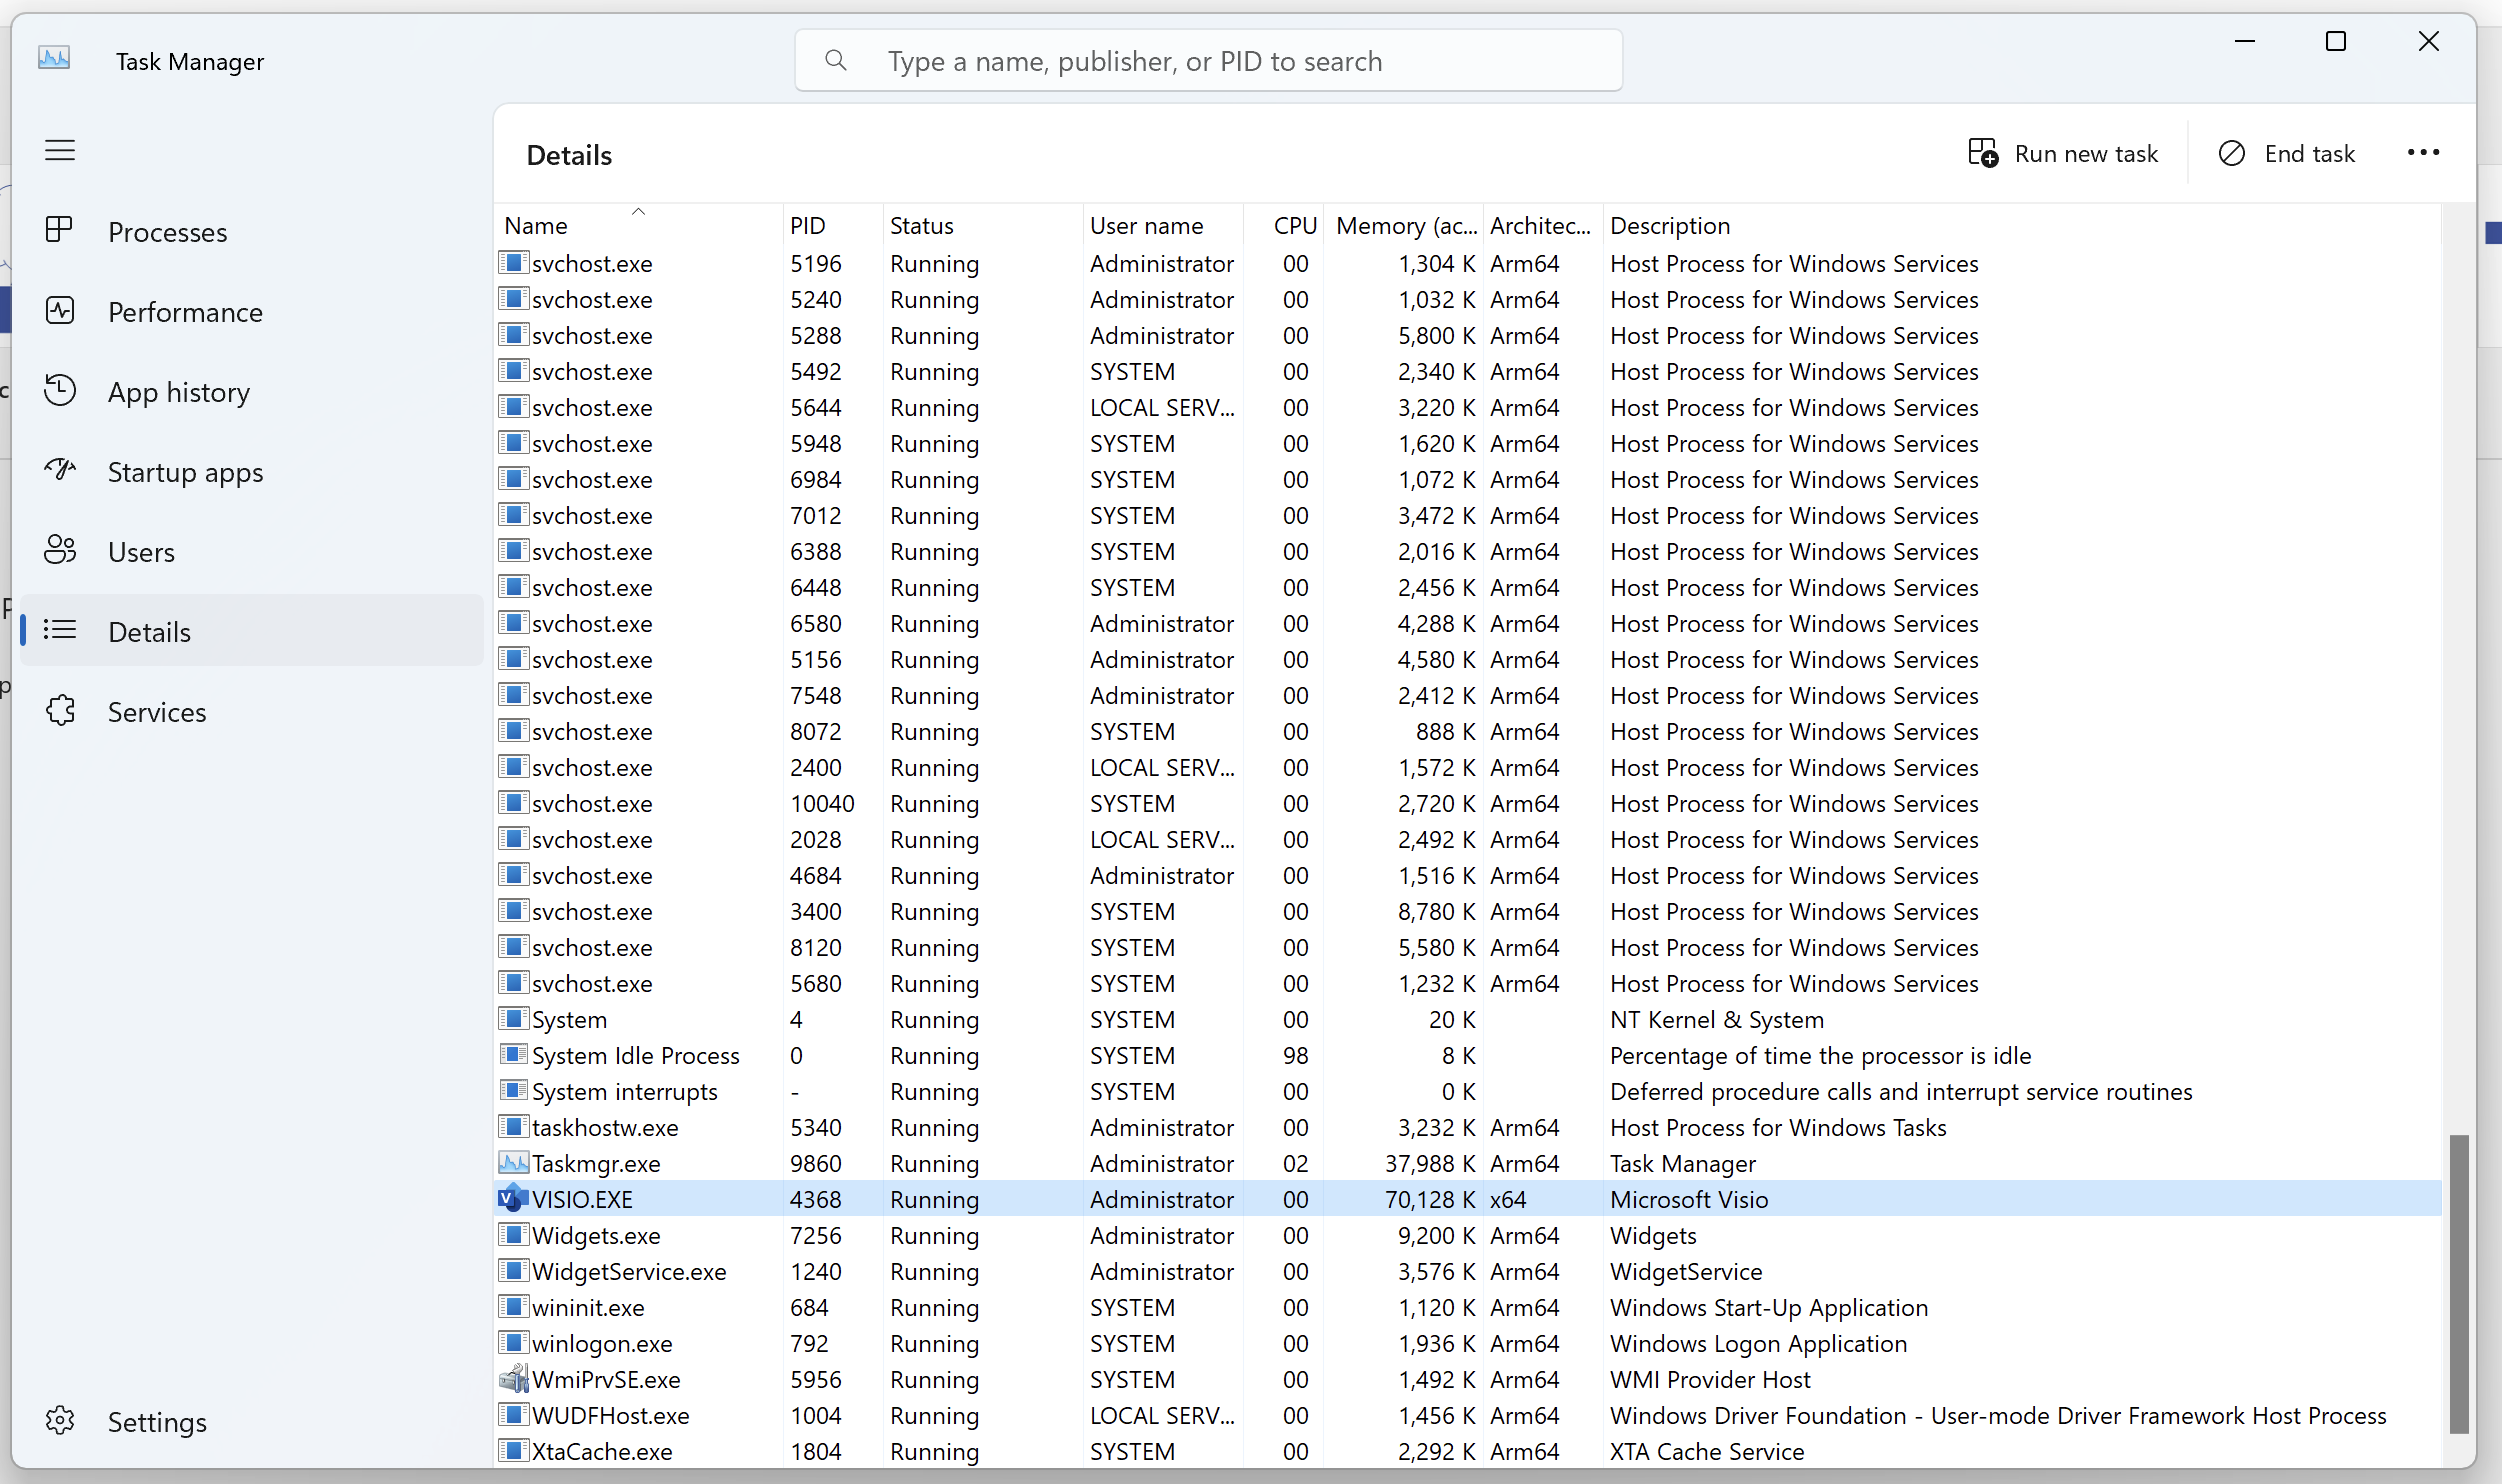
I checked the info of the process in tastk manager, as you can see, it is a X64 based app.
Conclusion
This tutorial is trying to install Arm64 based Windows virtual machine on Mac M series machines, X64 based apps can be installed which would save you a lot of time switching between machines. You could install other X64 apps with ease on you Mac.
Leave a Reply