I’ve never thought that in 2024 I still have to manually download and install driver for a USB Hub with ethernet functionality.
I bought the UGreen USB Hub, in the beginning when I connected it to my Mac, I could not be able to find it in Settings app. Normally when a USB2Ethernet device is connected to the Mac, there should be a specific entry about it in addition to other connections like Wi-Fi or phone hotspot. I initially thought there must be somehting wrong with the hub and was eager to return it. A few days later I thought to myself maybe I missed something. I went straight to UGreen’s official website and searched the device, I found out there’s a specific link for the device driver.
When I downloaded and unizipped the archive, here’s what is inside. There are drivers for different platforms, even the same platform there are various zip files for its major versions. Basically a driver for ASIX USB Device should be installed for it to handle network issues.
Desktop ➤ tree AX88179_AX88179A_AX88179B_AX88772D_AX88772E
AX88179_AX88179A_AX88179B_AX88772D_AX88772E
├── Linux
│   └── asix_usb_nic_linux_driver_v3.2.0.tar.bz2
├── MacOS
│   ├── 10.9—10.15
│   │   └── AX88179_178A_macOS_10.9_to_10.15_Driver_Installer_v2.19.0.zip
│   ├── 11.0—11.2
│   │   └── ASIX_USB_Device_Installer_macOS_11.0_above_Driver_v1.2.0.zip
│   ├── 11.3—11.6
│   │   └── ASIX_USB_Device_Installer_macOS_11.3_to11.6_Driver_v1.3.0.zip
│   └── 12-14
│       ├── ASIX_USB_Device_Installer_macOS_12_above_Driver_v2.4.0
│       │   ├── ASIX_USB_Device_Installer_macOS_Driver_Quick_Installation_Guide_v101.pdf
│       │   ├── ASIX_USB_Device_Installer_v2.4.0.dmg
│       │   └── AX88179驱动安装教程(MacOS 14).pdf
│       └── ASIX_USB_Device_Installer_macOS_12_above_Driver_v2.4.0.zip
└── Windows
    ├── Windows 10
    │   └── ASIX_USB_Ethernet_Win10_v3.20.0.0_Drivers_Setup_v2.0.0.0.zip
    ├── Windows 11
    │   └── ASIX_USB_Ethernet_Win11_X64_v3.22.0.0_Drivers_v2.0.0.0.zip
    ├── Windows 7
    │   └── AX88179_178A_Win7_v1.x.11.0_Drivers_Setup_v3.0.6.0.zip
    ├── Windows 8
    │   └── AX88179_178A_Win8.x_v1.18.5.0_Drivers_Setup_v1.0.4.0.zip
    ├── Windows XP_Vista
    │   └── AX88179_178A_WinXP_Vista_v1.x.2.0_Drivers_Setup_v1.0.4.0.zip
    └── 解决AX88179A_88772D网卡显示名称为AX88179问题.rar

14 directories, 14 filesI’m more curious about MacOS 12 to 14 so I unzipped the archive inside, there is a dmg file and 2 more instruction manuals. It is straightforward to install the drivers. You will get another app named “ASIX_USB_Device_App.app”, here’s the detailed metadata for this app.
/ ➤ plutil -p /Applications/ASIX_USB_Device_App.app/Contents/Info.plist
{
  "BuildMachineOSBuild" => "21G651"
  "CFBundleDevelopmentRegion" => "en"
  "CFBundleExecutable" => "ASIX_USB_Device_App"
  "CFBundleIconFile" => "asix.icns"
  "CFBundleIdentifier" => "com.asix.products"
  "CFBundleInfoDictionaryVersion" => "6.0"
  "CFBundleName" => "ASIX USB Ethernet App"
  "CFBundlePackageType" => "APPL"
  "CFBundleShortVersionString" => "2.3.0"
  "CFBundleSupportedPlatforms" => [
    0 => "MacOSX"
  ]
  "CFBundleVersion" => "2.3.0"
  "DTCompiler" => "com.apple.compilers.llvm.clang.1_0"
  "DTPlatformBuild" => "XXXXX"
  "DTPlatformName" => "macosx"
  "DTPlatformVersion" => "XX.X"
  "DTSDKBuild" => "XXXXXX"
  "DTSDKName" => "macosXX.XX"
  "DTXcode" => "XXXX"
  "DTXcodeBuild" => "XXXXXX"
  "LSApplicationCategoryType" => "public.app-category.utilities"
  "LSMinimumSystemVersion" => "12.0"
  "NSHumanReadableCopyright" => "Copyright © 2021 ASIX Electronics Corporation. All rights reserved."
  "NSMainStoryboardFile" => "Main"
  "NSPrincipalClass" => "NSApplication"
  "NSSupportsAutomaticTermination" => 1
  "NSSupportsSuddenTermination" => 1
}The driver needs to be installed using the app, it is quite straightforward and you could refer to the instruction/manual to get it done. Before rebooting the device, you could try to connect to LAN and see if it works or not.

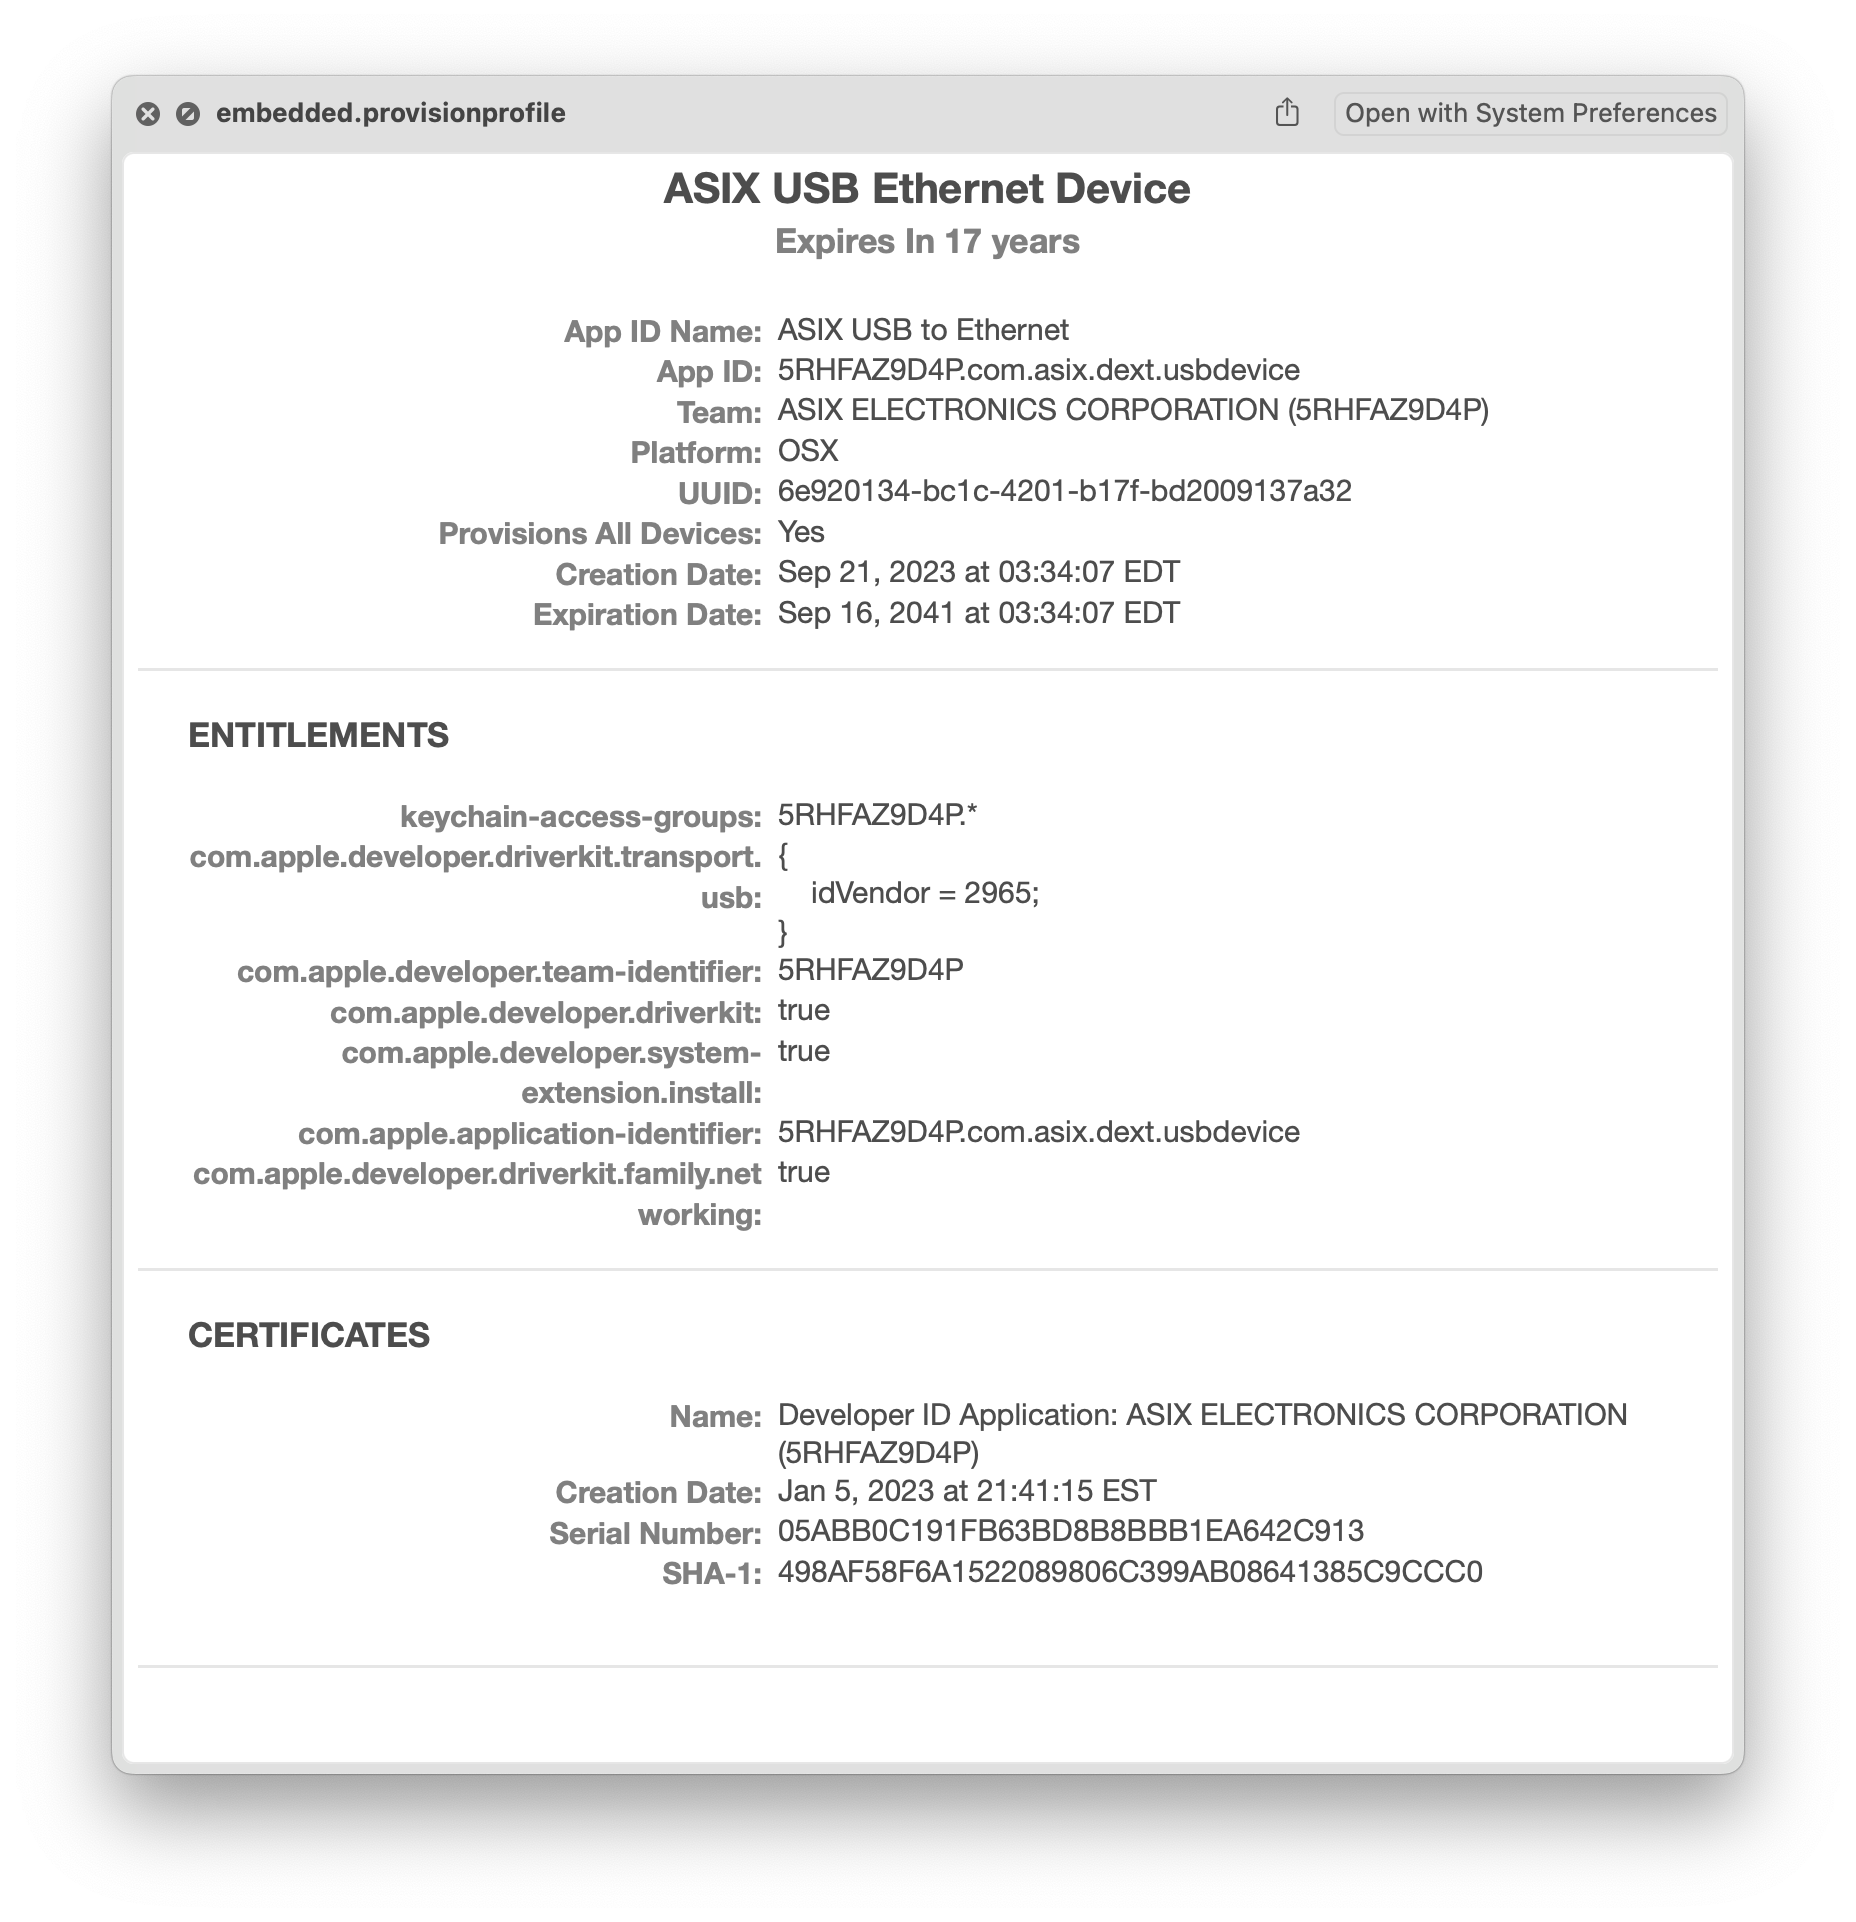
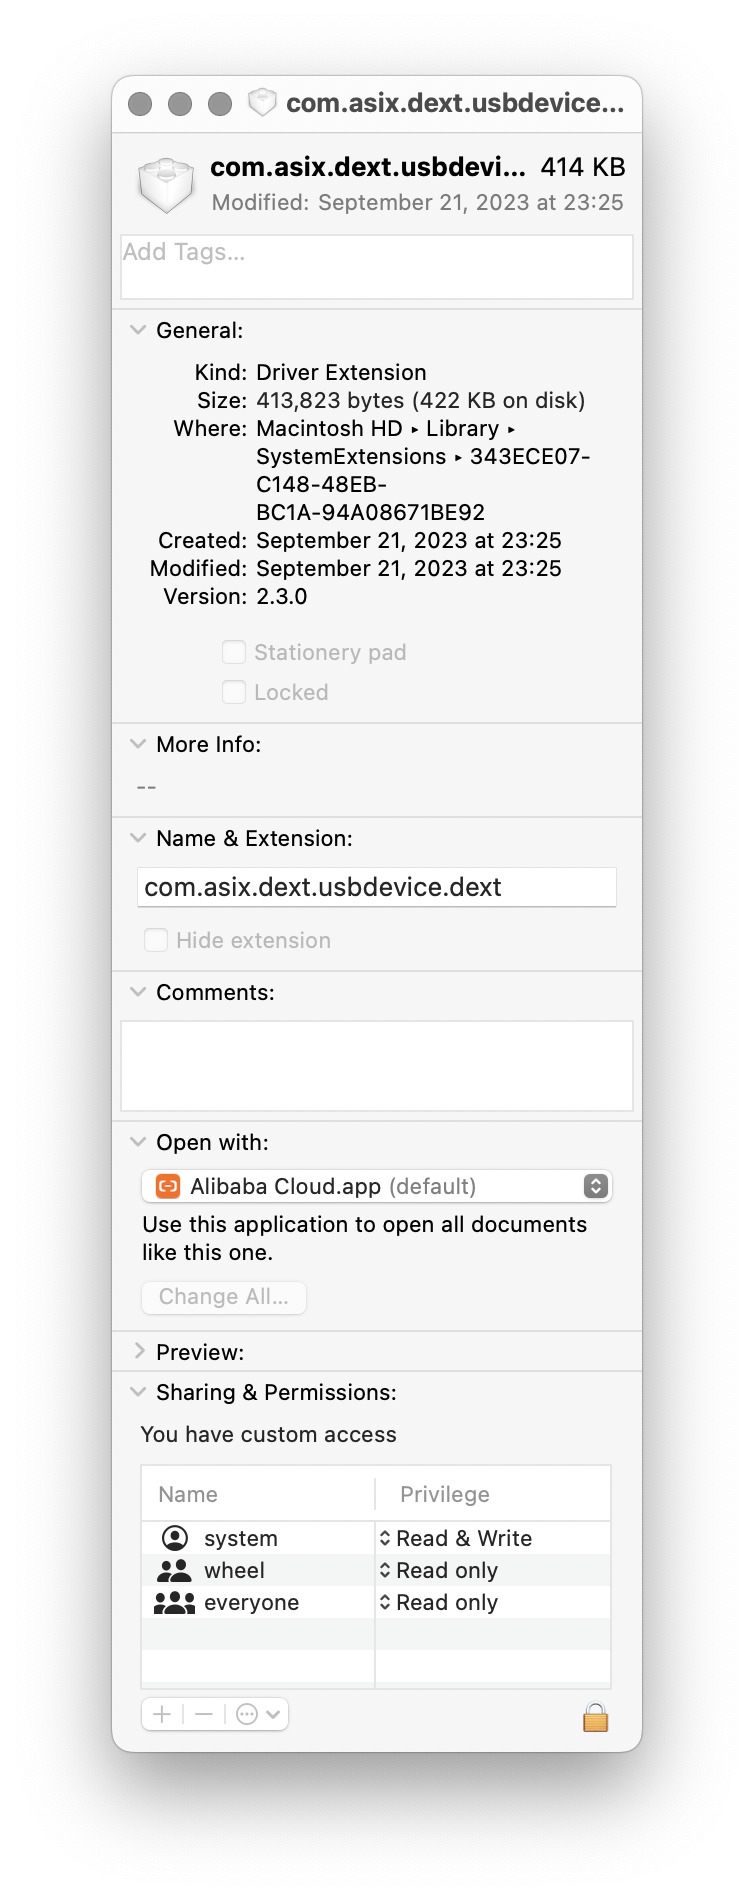
After the steps above, your Mac should be able to connect to the ethernet through the USB hub without any problem. Here are some extra info about the driver, there is one file installed named “com.asix.dext.usbdevice.dext”, which is a driver extension(DriverKit drivers) to allow the usb hub to offer ethernet connection.
Driver extensions, or .dext files, are a modern approach introduced in macOS 10.15 Catalina to improve system security and stability. Unlike traditional kernel extensions (.kext), .dext files run in user space, reducing the risk of system crashes and kernel panics.
https://link.springer.com/content/pdf/10.1007/978-1-4842-7277-0_7.pdf
In Chapter 7 System Extensions “System Extension Specifics” of the book, it stated that SEXT system extensions including dext should be placed inside a parent application bundle in /Application folder. This explains why we need to install an application from the driver archive.

Mac also provides a command line to list and manage those dext files like drivers, the name is systemextensionsctl. This link contains more detailed info on the command line tool.
/ ➤ systemextensionsctl -h
systemextensionsctl: usage:
	systemextensionsctl developer [on|off]
	systemextensionsctl list [category]
	systemextensionsctl reset  - reset all System Extensions state
systemextensionsctl uninstall <teamId> <bundleId>; can also accept '-' for teamID ➤ systemextensionsctl list
1 extension(s)
--- com.apple.system_extension.driver_extension
enabled active teamID bundleID (version) name [state]
* * 5RHFAZ9D4P com.asix.dext.usbdevice (2.3.0/2.3.0) com.asix.dext.usbdevice [activated enabled]/ ➤ kmutil -h
OVERVIEW: kmutil: KernelManagement Utility (KernelManagement_executables-264.120.2)
USAGE: kmutil <subcommand>
OPTIONS:
-h, --help Show help information.
SUBCOMMANDS:
create Create one or more new artifacts based on the arguments provided.
load Load one or more extensions based on the arguments provided.
unload Unload the named kexts and all personalities.
log Display logging information about the KernelManagement subsystem.
libraries Search for library kexts that define symbols needed for linking by a kernel extension.
dumpstate Dumps kernelmanagerd(8) state for debugging
inspect Inspect & display a kext collection's contents according to the options provided.
clear-staging Clears all contents of the kext staging locations on the system
configure-boot Configure custom boot object policy (recovery-mode only)
find Find kexts available on the operating system.
showloaded Show the loaded state of the extensions on the system, according to the options provided.
trigger-panic-medic Delete and disable loading of third party kexts in order to safely boot into a target volume. (can only be triggered in
Recovery mode)
eg usage: `kmutil trigger-panic-medic --volume-root /Volumes/<VolumeName>`
check Check the consistency of kext collections against each other and/or load information in-kernel.
print-diagnostics Perform all possible tests on a specified kext, and indicate whether the kext is loadable.
See 'kmutil help <subcommand>' for detailed help.Conclusion
The only thing you should laern from the post is that do not take convenience for granted, sometimes things needs to be done in the old school way.
Leave a Reply